My Menu Mentor · mymenumentor.com/recipes/baked-chicken-bacon-ranch-sliders
Back to the indexSandwiches & Sliders
Baked Chicken Bacon Ranch Sliders
A reliable method for assembling warm, pull-apart sandwiches without the bread turning to paste.
- Prep
- 15 minutes
- Cook
- 25 minutes
- Total
- 40 minutes
- Yield
- 12 sliders
Print the card
The card carries the title, timings, ingredients and method. Add what you want beside them — currently one sheet.
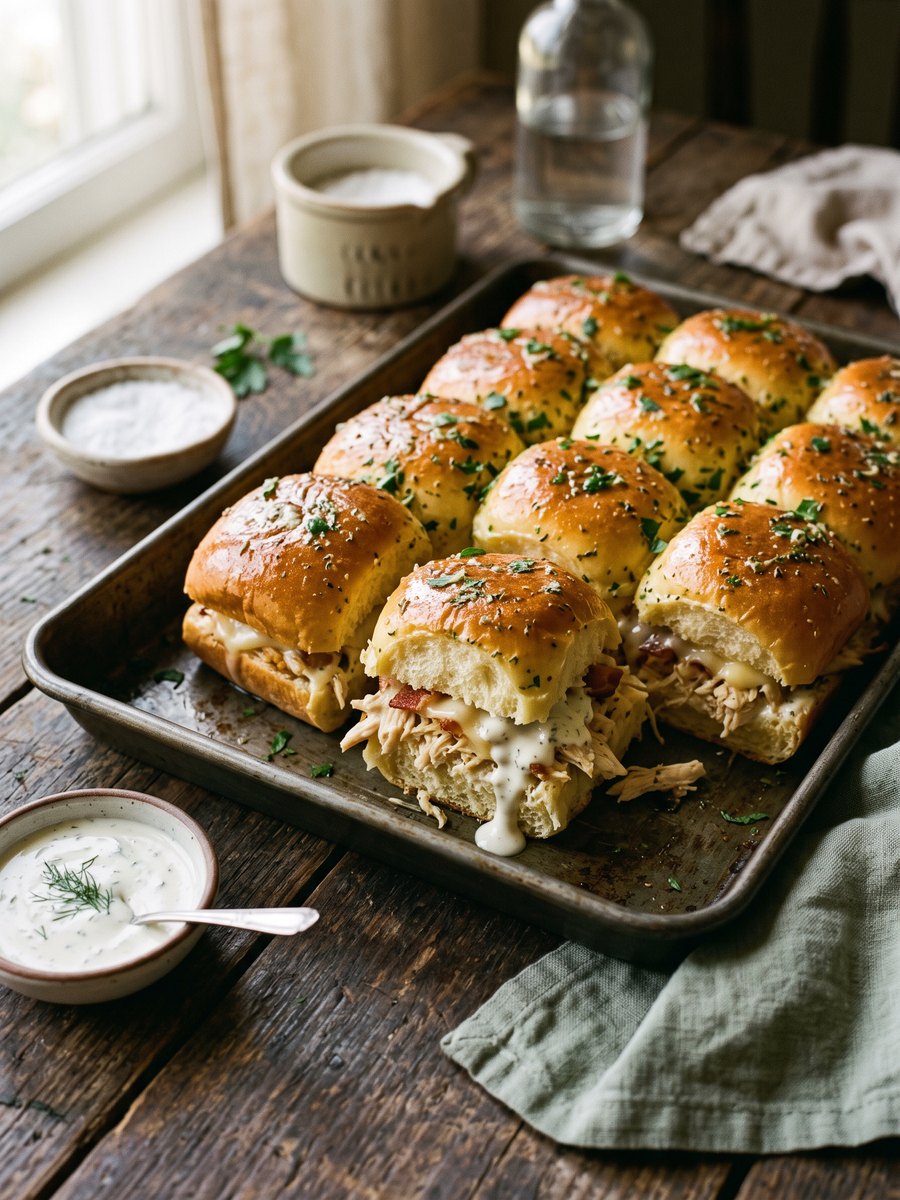
The common failure mode of baked sliders is a soggy, disintegrating bottom bun. When wet ingredients like cooked chicken, ranch dressing, and melted butter meet soft commercial bread, the structure inevitably collapses before it reaches the plate. The technique that fixes this is a brief, dry pre-toast of the bottom buns in the oven before any filling is applied. This creates a firm, dry barrier that holds up to the moisture of the filling, ensuring the sandwich can be picked up cleanly.
Using shredded rotisserie chicken keeps the preparation brief, but the meat must be tossed thoroughly with the ranch dressing before assembly rather than simply drizzled over the top. This ensures an even distribution of flavor in every bite and prevents the dressing from pooling in the corners of the baking pan. Thick-cut bacon provides necessary structural contrast to the soft bread and tender chicken, preventing the entire sandwich from feeling like a single, undifferentiated texture.
These are best served immediately while the provolone cheese is highly fluid and the butter-glazed tops are still crisp from the oven. They hold their heat well in the pan for about twenty minutes before the bread begins to soften. If making them for a gathering, you can assemble the sandwiches entirely, cover them tightly with aluminum foil, and refrigerate for up to four hours before baking. Simply add five minutes to the covered baking time to account for the chilled ingredients.
What you need
Ingredients
Measurements
Metric converts only measures that are mathematically safe. Density-dependent cups stay as Nicole wrote them.
Scale the batch
12 sliders
- 1 (12-count) package sweet pull-apart rolls, halved horizontally
- 3 cups cooked chicken, shredded
- 1/2 cup buttermilk ranch dressing
- 8 slices thick-cut bacon, cooked crisp and crumbled
- 6 slices provolone cheese
- 1/4 cup unsalted butter, melted
- 1 teaspoon garlic powder
- 1 tablespoon dried parsley
How it goes
Method
Read the whole thing once before you start. Nothing here is difficult, but the timing is unforgiving at the end.
Pre-toast the bottom buns
Preheat the oven to 350°F. Place the bottom half of the rolls in a 9x13-inch baking pan. Bake uncovered for 5 minutes until the cut surface is dry to the touch. This prevents the bread from absorbing the dressing and turning soggy.
Mix chicken and dressing
In a medium bowl, toss the shredded chicken with the ranch dressing until evenly coated. Mixing them beforehand ensures every bite has flavor and stops the dressing from pooling at the bottom of the pan.
Layer the filling
Spread the dressed chicken evenly over the toasted bottom buns. Scatter the crumbled bacon over the chicken, then layer the provolone cheese slices evenly across the top to bind the filling as it melts.
Add the top buns
Place the top half of the rolls over the cheese layer. Press down firmly but gently with your palms to compress the layers slightly, which helps the sliders hold together when cut and eaten.
Apply the butter glaze
Whisk the melted butter, garlic powder, and dried parsley together. Brush this mixture evenly over the top buns, allowing some to drip down the sides for crisp edges and a savory finish.
Bake covered, then uncovered
Cover the pan tightly with aluminum foil and bake for 15 minutes to heat the center and melt the cheese. Remove the foil and bake for 5 more minutes until the tops are deeply browned and crisp.
On the bench
Equipment
1 of these change the result. The rest are conveniences, with a workaround given. Nothing here is a brand recommendation — the spec is what matters.
The search links are paid affiliate links. If you buy through one, My Menu Mentor may earn a commission at no extra cost to you. No prices are shown because we will not quote a price we cannot keep current.
9x13-inch baking pan
The sliders are assembled and baked as a single block in a 9x13 pan so the rolls compress, steam, and brown evenly; a different-shaped pan will change baking behavior and browning.
- What matters
- 9x13-inch rimmed baking pan that fits in your oven with enough room to arrange the full package of rolls in a single layer.
- Search for
- “9x13 rimmed baking pan” (paid link)
Pastry brush (silicone or natural bristle)
OptionalBrushing the garlic-butter glaze evenly over the tops creates the crisp, browned finish called for; spooning or dribbling the butter won't distribute it uniformly.
- What matters
- Small to medium pastry brush with heat-tolerant silicone or tightly packed natural bristles for even glazing over a 9x13 surface.
- If you skip it
- If you don't have a brush, drizzle the butter over the tops and use the back of a spoon to spread it evenly across the rolls.
- Search for
- “pastry brush silicone” (paid link)
The list
What to buy
The same 8 ingredients, sorted the way a store is laid out rather than the order you cook them. Tick things off as you go.
0 of 8 gathered
Produce
Meat & Seafood
Dairy & Eggs
Everything else
Shop these ingredients
One-tap grocery delivery for this list is planned, and this is where it will appear. Until it is connected, copy the list and paste it into whichever grocery app you already use.
Ticks stay in this browser tab only — nothing is saved or sent anywhere.
Cook's notes
What we would tell a friend
- To scale this for a larger crowd, use two 9x13 pans and rotate them halfway through the baking time to ensure even browning across both batches.
- Avoid using thin-cut bacon, as it will lose its texture against the soft chicken and bread. Thick-cut bacon maintains its necessary crunch.
- Leftovers can be stored in an airtight container in the refrigerator for up to two days. Reheat in a 325°F oven until warm; microwaving will make the bread tough.
From the kitchen
Loading notes…
Keep reading
Next in the index
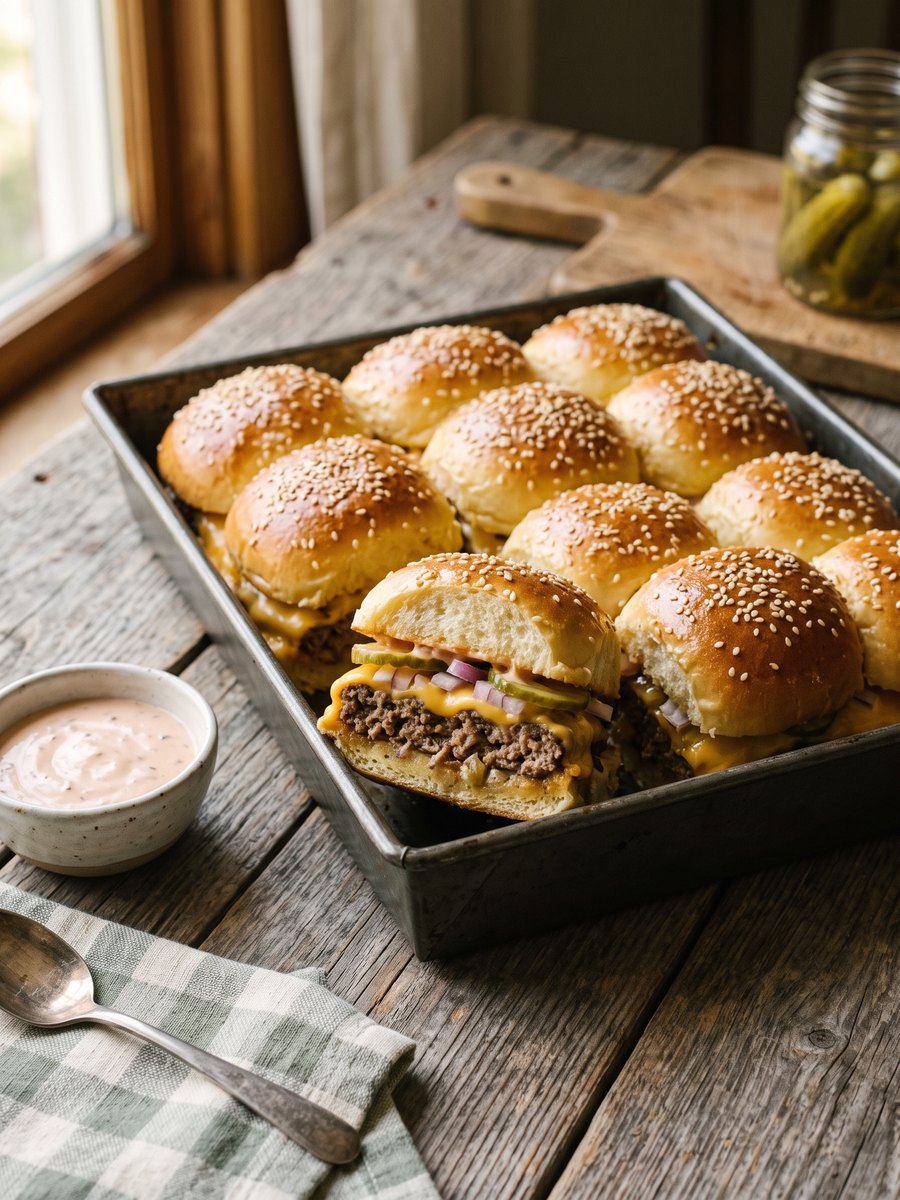
Baked Beef Cheeseburger Sliders
A sheet-pan approach to the classic double-decker burger, baked as a single slab to retain moisture and prevent the bread from disintegrating.
45 minutes · 12 sliders
Sandwiches & Sliders
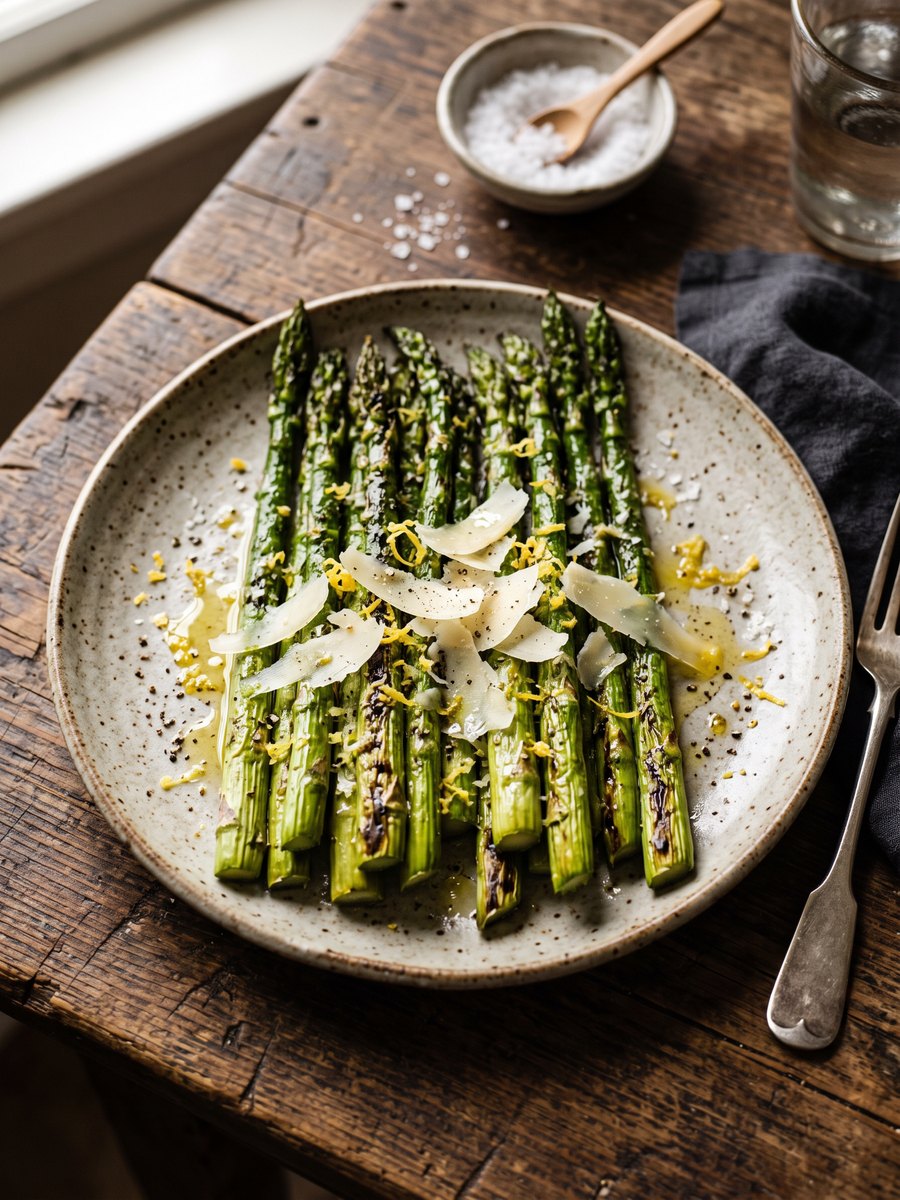
Lemon Garlic Roasted Asparagus with Parmesan
Asparagus does not need rescuing. It needs high heat and about twelve minutes of your attention.
22 minutes · 4 servings
Sides & Vegetables