My Menu Mentor · mymenumentor.com/recipes/cast-iron-buttermilk-biscuits
Back to the indexBreads & Baking
Cast Iron Buttermilk Biscuits
A reliable method for tall, layered biscuits that relies on cold fat, minimal handling, and the radiant heat of a cast iron skillet.
- Prep
- 15 minutes
- Cook
- 18 minutes
- Total
- 33 minutes
- Yield
- 6 large biscuits
Print the card
The card carries the title, timings, ingredients and method. Add what you want beside them — currently one sheet.
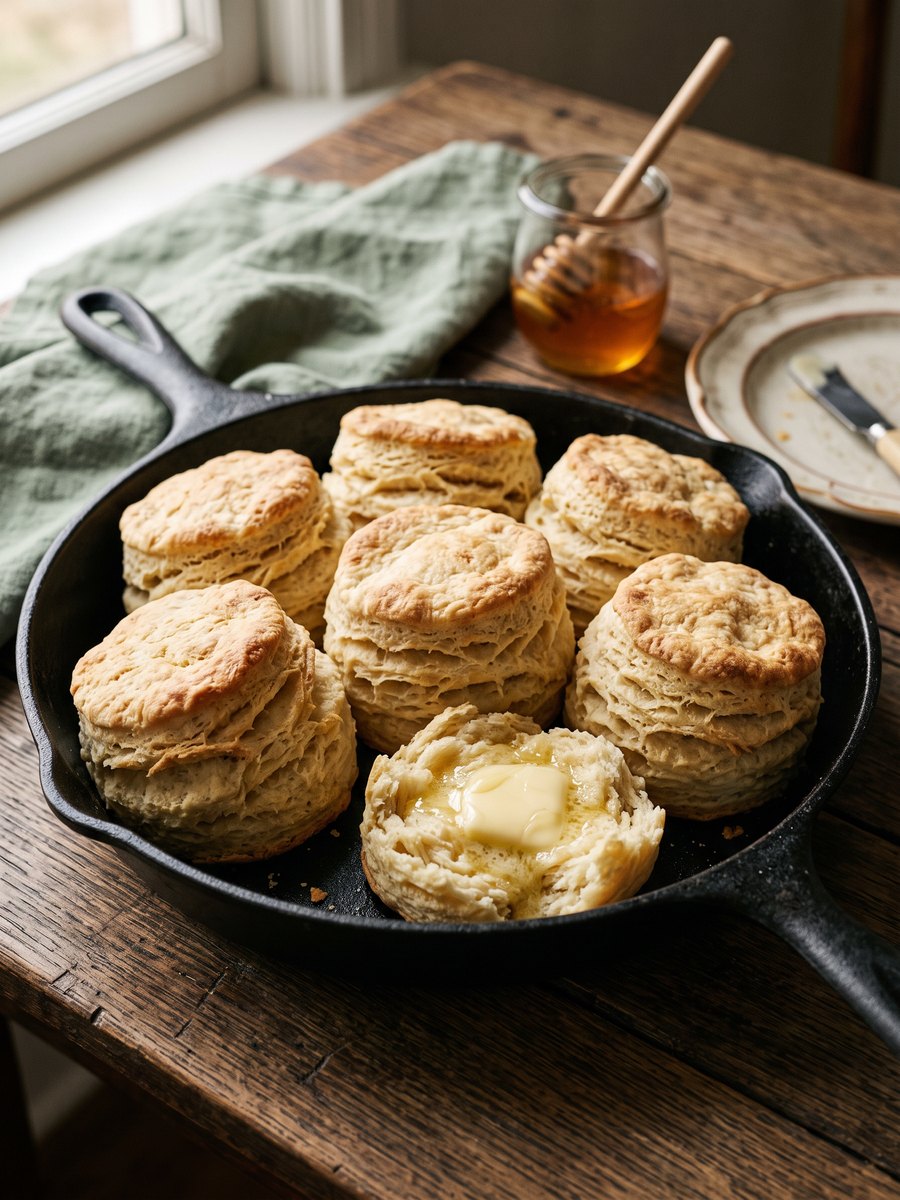
The most common failure mode for homemade biscuits is a dense, heavy crumb caused by overworking the dough and allowing the fat to warm. When butter melts before it reaches the oven, it cannot create the steam pockets necessary for lift. The solution is to keep the ingredients cold, handle the dough as little as possible, and use a folding technique to build structure without developing tough gluten.
Using a combination of all-purpose flour and a small amount of baking powder provides the necessary lift, while the acidity of the buttermilk tenderizes the crumb and reacts with baking soda for additional rise. Grating frozen butter directly into the dry ingredients ensures even distribution without the heat transfer that occurs when cutting fat in by hand. Baking the biscuits closely together in a preheated cast iron skillet forces them to rise upward rather than spreading outward.
These biscuits are best served warm, split and buttered, or used as the foundation for a breakfast sandwich. They will keep in an airtight container at room temperature for two days, but their texture is vastly superior on the day they are baked. Leftovers can be split and toasted in a dry skillet to revive their crisp edges.
What you need
Ingredients
Measurements
Metric converts only measures that are mathematically safe. Density-dependent cups stay as Nicole wrote them.
Scale the batch
6 large biscuits
- 2 cups all-purpose flour, spooned and leveled
- 1 tablespoon baking powder
- 1/4 teaspoon baking soda
- 1 teaspoon kosher salt
- 1/2 cup (1 stick) unsalted butter, frozen
- 3/4 cup cold whole buttermilk, plus 1 tablespoon for brushing
How it goes
Method
Read the whole thing once before you start. Nothing here is difficult, but the timing is unforgiving at the end.
Prepare the skillet and oven
Place a 10-inch cast iron skillet in the oven and preheat to 425°F. Heating the skillet ensures the bottoms of the biscuits begin baking immediately upon contact, creating a crisp crust.
Combine dry ingredients
In a large bowl, whisk together the flour, baking powder, baking soda, and kosher salt. This ensures the leavening agents are evenly distributed throughout the dough.
Incorporate the butter
Using the large holes of a box grater, grate the frozen butter directly into the flour mixture. Toss gently with your fingers to coat the butter pieces in flour, keeping the mixture as cold as possible.
Add the buttermilk
Pour in the 3/4 cup of cold buttermilk. Stir gently with a wooden spoon or silicone spatula just until a shaggy dough forms. Do not overmix; there should still be dry spots of flour.
Fold and cut the dough
Turn the dough out onto a lightly floured surface. Pat it into a rough rectangle, fold it in half over itself, and pat it down again. Repeat this folding process three times to create layers. Pat the dough to a 1-inch thickness and cut out biscuits using a 2 1/2-inch round cutter, pressing straight down without twisting.
Bake the biscuits
Carefully remove the hot skillet from the oven. Arrange the biscuits in the skillet so their edges are touching. Brush the tops lightly with the remaining 1 tablespoon of buttermilk. Bake for 15 to 18 minutes, until the tops are deep golden brown and the biscuits have risen significantly.
On the bench
Equipment
0 of these change the result. The rest are conveniences, with a workaround given. Nothing here is a brand recommendation — the spec is what matters.
The search links are paid affiliate links. If you buy through one, My Menu Mentor may earn a commission at no extra cost to you. No prices are shown because we will not quote a price we cannot keep current.
10-inch cast iron skillet
OptionalPreheating a 10-inch cast iron skillet in the oven gives the biscuits an immediate blast of bottom heat that creates the crisp, browned bottoms described in the method.
- What matters
- 10-inch cast iron skillet that fits comfortably in your oven and conducts heat evenly across its base.
- If you skip it
- Use a heavy rimmed baking sheet preheated in the oven; the bottoms will be less crisp but the biscuits will still bake through.
- Search for
- “10 inch cast iron skillet” (paid link)
Box grater (large-hole side)
OptionalGrating the frozen butter with the large holes produces uniformly tiny flakes that stay cold and create distinct layers—cutting or cubing the butter makes it harder to keep the pieces cold and can reduce lift.
- What matters
- Sturdy box grater with a large-holed side designed to produce coarse shreds from frozen butter without melting it.
- If you skip it
- Use a sharp chef's knife to cut the frozen butter into pea-sized cubes, working quickly and returning the butter to the freezer if it softens.
- Search for
- “box grater large holes” (paid link)
2 1/2-inch round biscuit cutter
OptionalA 2 1/2-inch cutter gives the yield and rise specified while allowing the biscuits to be arranged touching in the skillet; pressing straight down without twisting is central to their rise.
- What matters
- A firm 2 1/2-inch round metal or solid plastic cutter with a straight edge for clean straight-up cuts.
- If you skip it
- Use a floured 2 1/2-inch metal cookie cutter or the rim of a floured drinking glass; press straight down and lift straight up without twisting.
The list
What to buy
The same 6 ingredients, sorted the way a store is laid out rather than the order you cook them. Tick things off as you go.
0 of 6 gathered
Dairy & Eggs
Pantry
Spices & Staples
Shop these ingredients
One-tap grocery delivery for this list is planned, and this is where it will appear. Until it is connected, copy the list and paste it into whichever grocery app you already use.
Ticks stay in this browser tab only — nothing is saved or sent anywhere.
Cook's notes
What we would tell a friend
- Twisting the biscuit cutter seals the edges of the dough, preventing the biscuits from rising to their full potential. Always press straight down and lift straight up.
- If you do not have a cast iron skillet, a heavy baking sheet lined with parchment paper will work, though the bottoms will not be as crisp. Arrange the biscuits so they are touching.
- To make ahead, cut the biscuits and freeze them in a single layer on a baking sheet. Once frozen solid, transfer to a zip-top bag. Bake directly from frozen, adding 3 to 5 minutes to the baking time.
From the kitchen
Loading notes…
Keep reading
Next in the index
Brown Butter Walnut Banana Bread
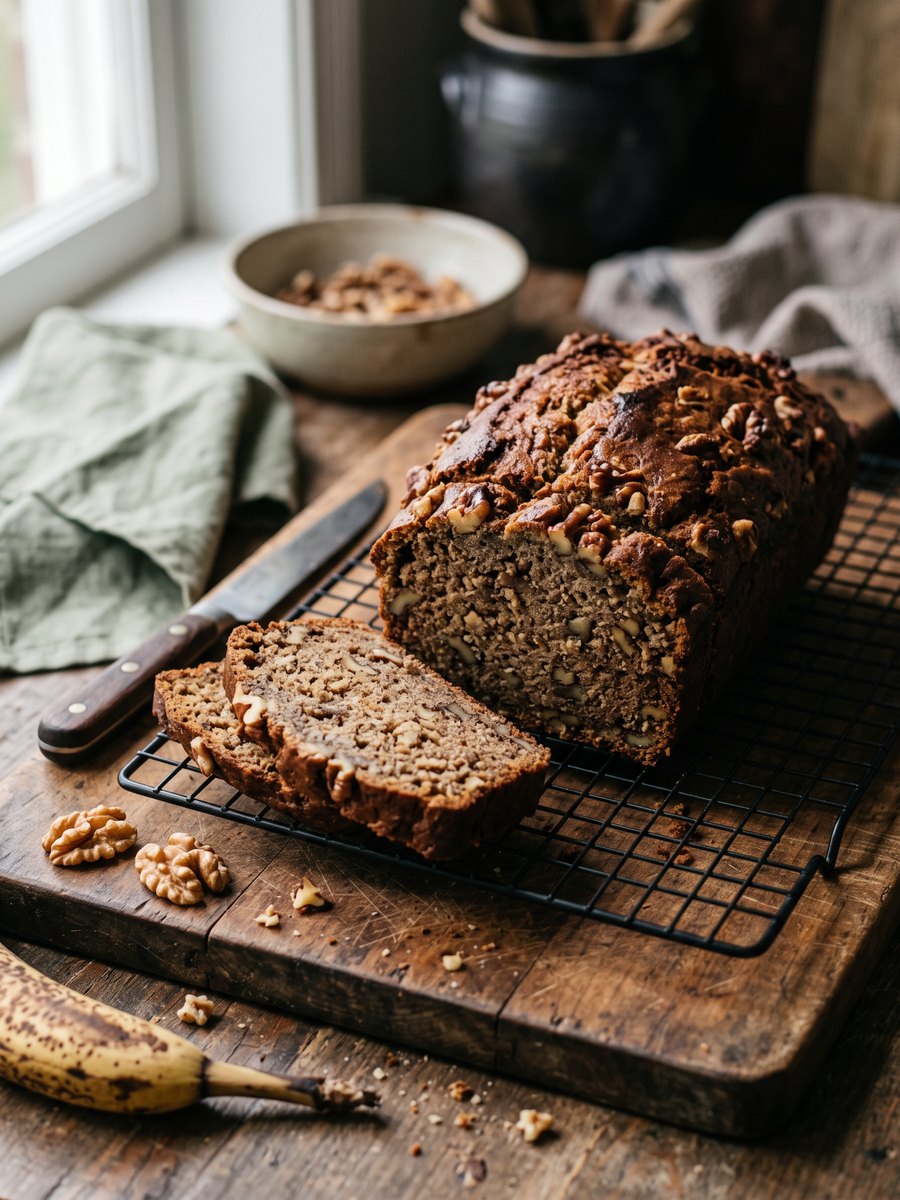
Browning the butter drives off water and toasts the milk solids, giving this loaf a deep, nutty backbone that stands up to the sweetness of overripe fruit.
1 hour 25 minutes · one 9x5-inch loaf
Breads & Baking
Bakery-Style Blueberry Muffins
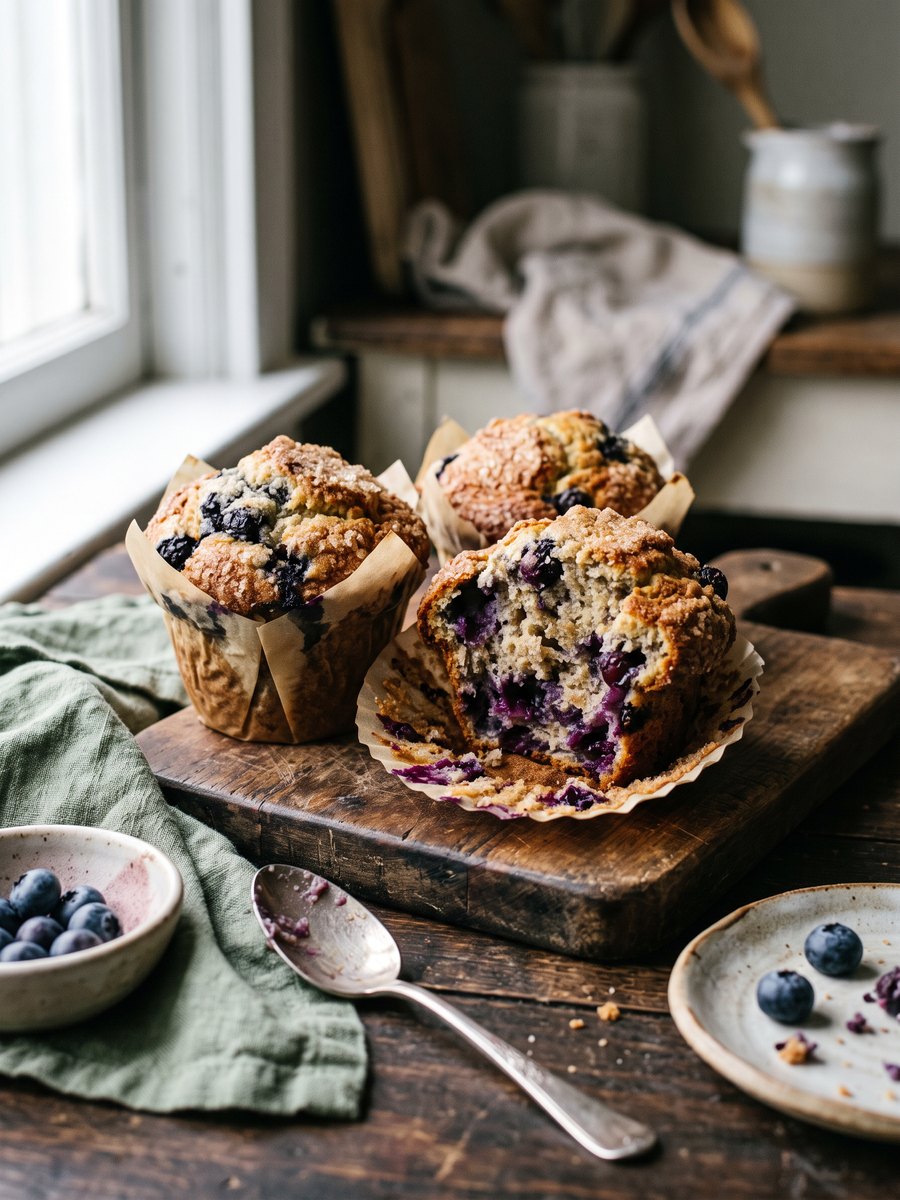
A high-domed, tender-crumbed muffin that relies on a thick batter and an initial blast of heat to rise properly.
40 minutes · 12 muffins
Breads & Baking