My Menu Mentor · mymenumentor.com/recipes/no-knead-dutch-oven-bread
Back to the indexBreads & Baking
No-Knead Dutch Oven Bread
A slow, overnight fermentation builds complex flavor and a sturdy crust without the labor of traditional kneading.
- Prep
- 15 minutes
- Cook
- 45 minutes
- Total
- 14 hours
- Yield
- 1 large loaf
Print the card
The card carries the title, timings, ingredients and method. Add what you want beside them — currently one sheet.
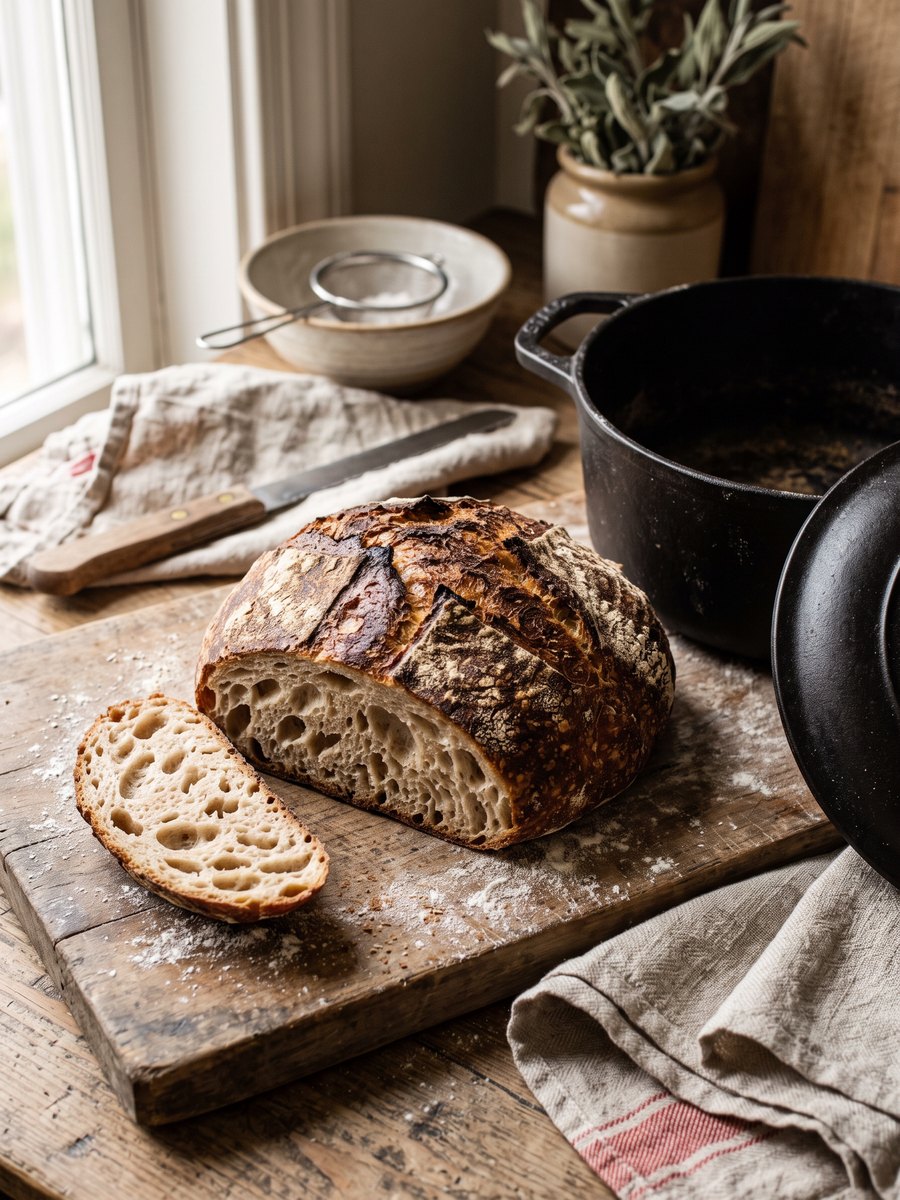
Most homemade bread fails because the baker rushes the process, attempting to force flavor and structure into a loaf in a single afternoon. The result is often dense, pale, and faintly yeasty. This method relies on time rather than mechanical action, using a long, slow fermentation to develop gluten naturally and build a deep, complex flavor profile.
The high hydration of this dough creates the open, airy crumb characteristic of artisan loaves, while the enclosed environment of a preheated Dutch oven traps steam during the initial bake. This steam gelatinizes the starches on the surface of the dough, allowing it to expand fully before setting into a thick, crackling crust.
This loaf requires minimal active time but demands patience. It is best started the evening before you intend to bake. Once cooled, it keeps well at room temperature for three days when stored cut-side down on a wooden board, and it makes excellent toast as it begins to stale.
What you need
Ingredients
Measurements
Metric converts only measures that are mathematically safe. Density-dependent cups stay as Nicole wrote them.
Scaling this one
This recipe is written to fill 1 large loaf, so there is no batch slider: doubling the quantities would not give you a deeper pan, it would give you two of them — and the bake time and temperature below would no longer be right. To make more, run the recipe twice in separate tins rather than crowding one.
- 3 cups all-purpose flour, spooned and leveled
- 1 1/2 teaspoons kosher salt
- 1/2 teaspoon active dry yeast
- 1 1/2 cups warm water (about 95°F)
How it goes
Method
Read the whole thing once before you start. Nothing here is difficult, but the timing is unforgiving at the end.
Mix the dough
In a large bowl, whisk together the flour, salt, and yeast. Add the warm water and stir with a wooden spoon or your hands until a shaggy, sticky dough forms. There should be no dry patches of flour remaining.
Rest the dough
Cover the bowl tightly with plastic wrap or a damp kitchen towel. Let the dough rest at room temperature for 12 to 18 hours. The dough is ready when its surface is dotted with bubbles and it has more than doubled in size.
Shape the loaf
Turn the dough out onto a heavily floured surface. Using floured hands, gently fold the edges of the dough into the center to form a round loaf. Place the dough seam-side down on a large piece of parchment paper.
Proof the loaf
Cover the shaped dough loosely with a towel and let it rest for 1 to 2 hours, until it is puffy and holds a slight indentation when gently poked with a finger.
Preheat the oven and pot
Thirty minutes before the dough is done resting, place a heavy cast iron Dutch oven with its lid into the oven and preheat to 450°F. The pot must be thoroughly heated to create the necessary steam.
Bake covered
Carefully remove the hot pot from the oven. Using the parchment paper as a sling, lower the dough into the pot. Cover with the lid and bake for 30 minutes. The trapped steam will help the bread rise and develop a crust.
Bake uncovered and cool
Remove the lid and continue baking for 10 to 15 minutes, until the crust is a deep, dark brown. Transfer the bread to a wire rack and let it cool completely, at least 2 hours, before slicing to prevent a gummy crumb.
On the bench
Equipment
1 of these change the result. The rest are conveniences, with a workaround given. Nothing here is a brand recommendation — the spec is what matters.
The search links are paid affiliate links. If you buy through one, My Menu Mentor may earn a commission at no extra cost to you. No prices are shown because we will not quote a price we cannot keep current.
Heavy cast-iron Dutch oven with lid
A thoroughly preheated, heavy pot traps steam and provides radiant heat that creates the loaf's oven spring and crisp, dark crust; a lightweight pot won't deliver the same crust or rise.
- What matters
- 5- to 6-quart heavy cast-iron or enameled Dutch oven with a tight-fitting lid and oven-safe to 450-500°F.
Parchment paper (baking sling)
OptionalUsing a parchment sling lets you transfer the soft, sticky dough into the hot pot safely and prevents it from sticking to the pot bottom during the initial steam bake.
- What matters
- Sheet of heavy-duty parchment paper sized to form a sling large enough to lower a loaf into the pot without tearing.
- If you skip it
- You can lower the loaf directly with well-floured hands or a heavily floured linen, but that is less reliable and increases the risk of sticking or losing shape.
The list
What to buy
The same 4 ingredients, sorted the way a store is laid out rather than the order you cook them. Tick things off as you go.
0 of 4 gathered
Pantry
Spices & Staples
Everything else
Shop these ingredients
One-tap grocery delivery for this list is planned, and this is where it will appear. Until it is connected, copy the list and paste it into whichever grocery app you already use.
Ticks stay in this browser tab only — nothing is saved or sent anywhere.
Cook's notes
What we would tell a friend
- Do not rush the cooling process. Slicing into a hot loaf releases steam that is still cooking the interior, resulting in a gummy, dense texture.
- If your kitchen is particularly cold, the initial fermentation may take the full 18 hours. Look for the visual cue of a bubbly surface rather than watching the clock.
- For a slightly heartier loaf, substitute up to 1 cup of the all-purpose flour with whole wheat flour, though the resulting bread will be slightly denser.
From the kitchen
Loading notes…
Keep reading
Next in the index
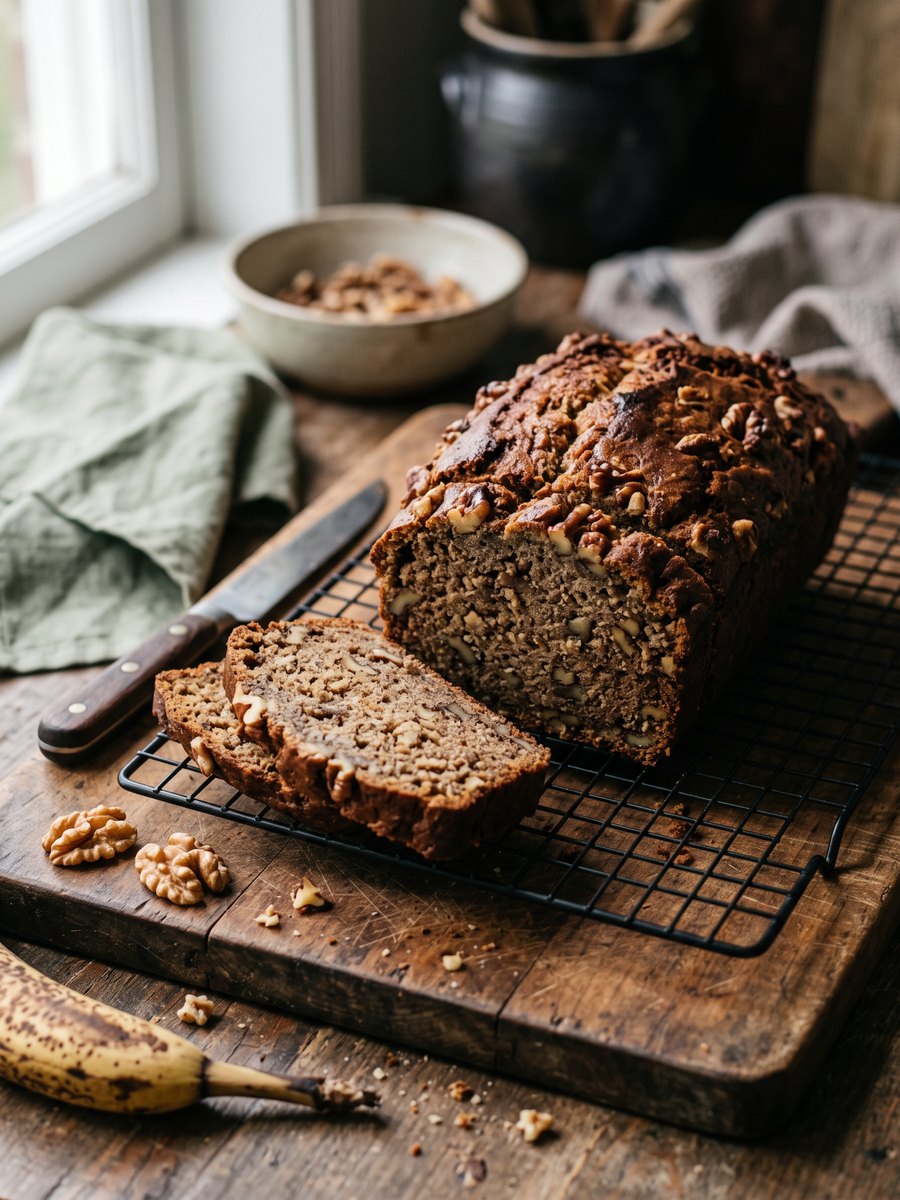
Brown Butter Walnut Banana Bread
Browning the butter drives off water and toasts the milk solids, giving this loaf a deep, nutty backbone that stands up to the sweetness of overripe fruit.
1 hour 25 minutes · one 9x5-inch loaf
Breads & Baking
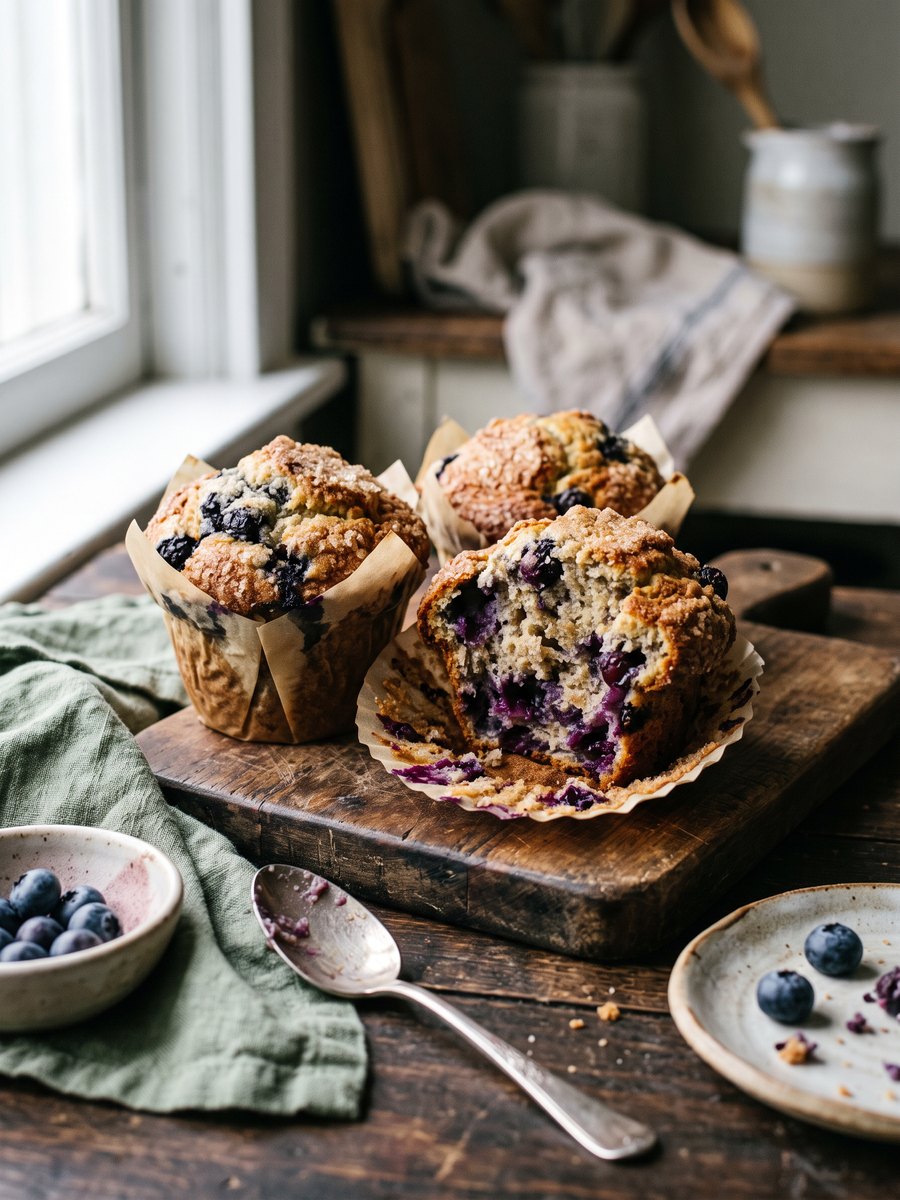
Bakery-Style Blueberry Muffins
A high-domed, tender-crumbed muffin that relies on a thick batter and an initial blast of heat to rise properly.
40 minutes · 12 muffins
Breads & Baking