My Menu Mentor · mymenumentor.com/recipes/cast-iron-campfire-chili-mac
Back to the indexOutdoor Cooking
Cast Iron Campfire Chili Mac
A single-skillet meal built for the fire grate, relying on pantry staples and a single pot to minimize camp cleanup.
- Prep
- 10 minutes
- Cook
- 25 minutes
- Total
- 35 minutes
- Yield
- 6 servings
Print the card
The card carries the title, timings, ingredients and method. Add what you want beside them — currently one sheet.
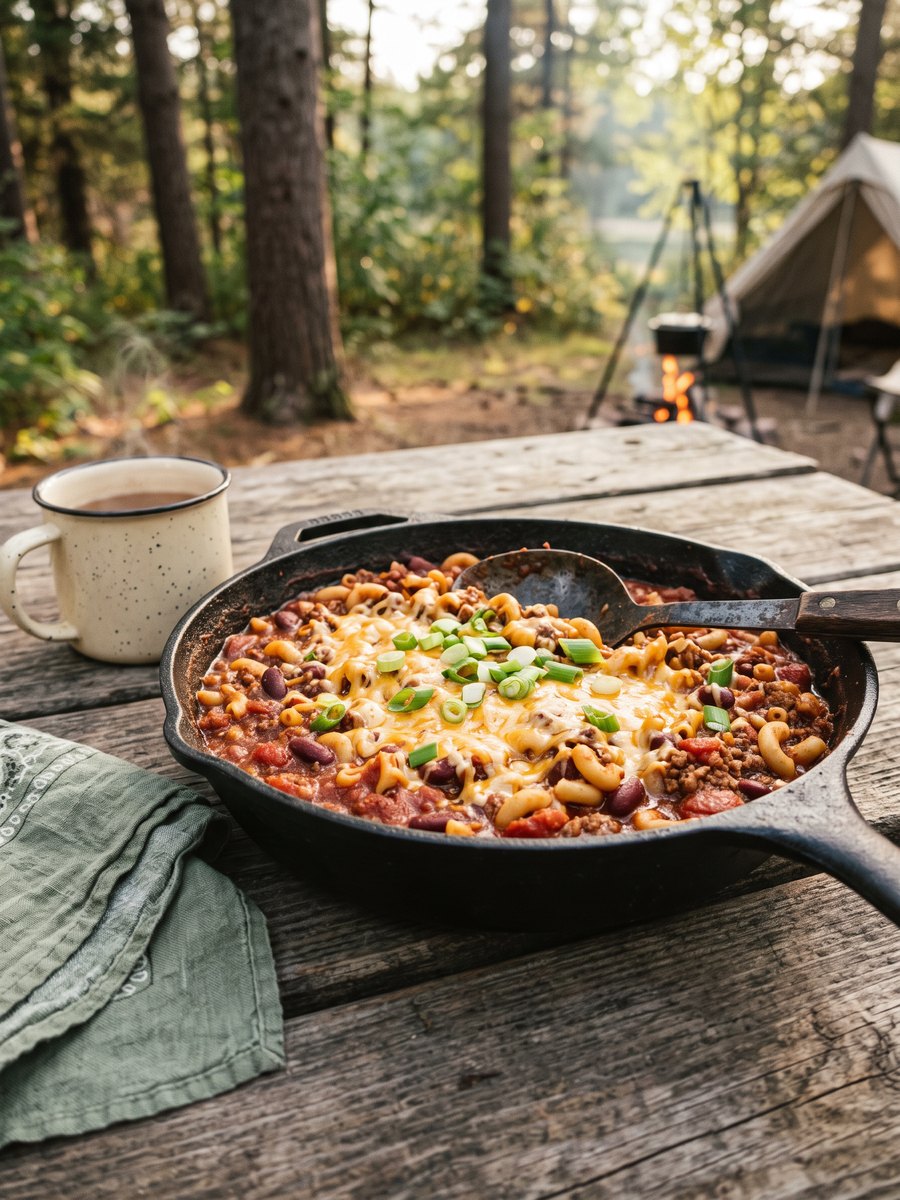
The most common failure of camp cooking is ambition. Attempting multiple pots over an uneven heat source usually results in cold side dishes and burnt mains. The solution is a unified skillet meal where the starch cooks directly in the sauce, absorbing flavor while eliminating the need to boil and drain water in the woods.
This chili mac uses dried pasta and canned goods, meaning it requires no cooler space until the cheese is added at the end. The pasta releases starches as it simmers in the crushed tomatoes and broth, creating a naturally thickened sauce that clings to the noodles rather than pooling at the bottom of the cast iron.
Serve this directly from the skillet once the cheese has melted into the top layer. It requires only a spoon and a bowl, making it ideal for eating around a fire. Leftovers can be stored in a sealed container in the cooler and reheated over the morning coals.
What you need
Ingredients
Measurements
Metric converts only measures that are mathematically safe. Density-dependent cups stay as Nicole wrote them.
Scale the batch
6 servings
- 1 tablespoon neutral oil, such as canola
- 1 large yellow onion, diced
- 1 pound ground beef (80/20 blend)
- 2 tablespoons chili powder
- 1 tablespoon ground cumin
- 1 teaspoon kosher salt
- 1 (15-ounce) can kidney beans, rinsed and drained
- 1 (28-ounce) can crushed tomatoes
- 2 cups beef broth or water
- 1 pound elbow macaroni
- 2 cups shredded sharp cheddar cheese
How it goes
Method
Read the whole thing once before you start. Nothing here is difficult, but the timing is unforgiving at the end.
Brown the beef
Place a 12-inch cast iron skillet over medium-high heat on a camp stove or a stable grate over hot coals. Add the oil and onion, cooking until softened, about 5 minutes. Add the ground beef, breaking it apart with a wooden spoon until no pink remains.
Toast the spices
Stir the chili powder, cumin, and kosher salt into the browned beef. Let the spices toast in the rendered beef fat for 1 minute until highly fragrant. This blooms the spices, unlocking their essential oils before the liquid is added.
Build the liquid base
Pour in the kidney beans, crushed tomatoes, and beef broth. Stir well, scraping the bottom of the skillet to release any browned bits. Bring the mixture to a steady simmer. The liquid volume will look high, but the pasta requires it.
Simmer the pasta
Stir in the dry elbow macaroni, ensuring the noodles are submerged in the liquid. Cover the skillet with a lid or heavy foil. Simmer for 12 to 15 minutes, stirring every 5 minutes to prevent the pasta from sticking to the bottom.
Melt the cheese
Once the pasta is tender and has absorbed most of the liquid, remove the skillet from the heat. Scatter the shredded cheddar cheese evenly over the top. Cover for 2 minutes until the cheese is completely melted and bubbling.
On the bench
Equipment
1 of these change the result. The rest are conveniences, with a workaround given. Nothing here is a brand recommendation — the spec is what matters.
The search links are paid affiliate links. If you buy through one, My Menu Mentor may earn a commission at no extra cost to you. No prices are shown because we will not quote a price we cannot keep current.
12-inch cast iron skillet
Cooking the chili, simmering the pasta, and finishing with cheese are all done in the 12-inch cast iron; its volume and heat retention allow the pasta to cook evenly in the liquid.
- What matters
- 12-inch cast iron skillet with straight sides and at least a 3-quart capacity, suitable for direct-heat cooking over a camp stove or coals.
- Search for
- “12 inch cast iron skillet” (paid link)
Tight-fitting lid (or heavy-duty foil)
OptionalCovering the skillet is necessary so the pasta can steam and absorb the liquid evenly; without a cover the noodles will cook unevenly and stick to the bottom.
- What matters
- A lid that fits the 12-inch skillet or heavy-duty aluminum foil large enough to create a tight tent over the pan.
- If you skip it
- If you don't have a lid, shape heavy-duty aluminum foil tightly over the skillet to trap steam while the pasta cooks.
- Search for
- “heavy duty aluminum foil” (paid link)
The list
What to buy
The same 11 ingredients, sorted the way a store is laid out rather than the order you cook them. Tick things off as you go.
0 of 11 gathered
Produce
Meat & Seafood
Dairy & Eggs
Pantry
Spices & Staples
Everything else
Shop these ingredients
One-tap grocery delivery for this list is planned, and this is where it will appear. Until it is connected, copy the list and paste it into whichever grocery app you already use.
Ticks stay in this browser tab only — nothing is saved or sent anywhere.
Cook's notes
What we would tell a friend
- If cooking over an open fire, wait until the flames have died down and you have a bed of glowing coals to ensure even, manageable heat.
- To save time at the campsite, pre-chop the onion at home and store it in a sealed container in your cooler.
- The pasta will continue to absorb liquid as it sits. If the mixture seems too thick before adding the cheese, stir in a splash of water.
- Any short, tubular pasta will work, but cooking times may vary slightly depending on the shape and brand.
From the kitchen
Loading notes…
Keep reading
Next in the index
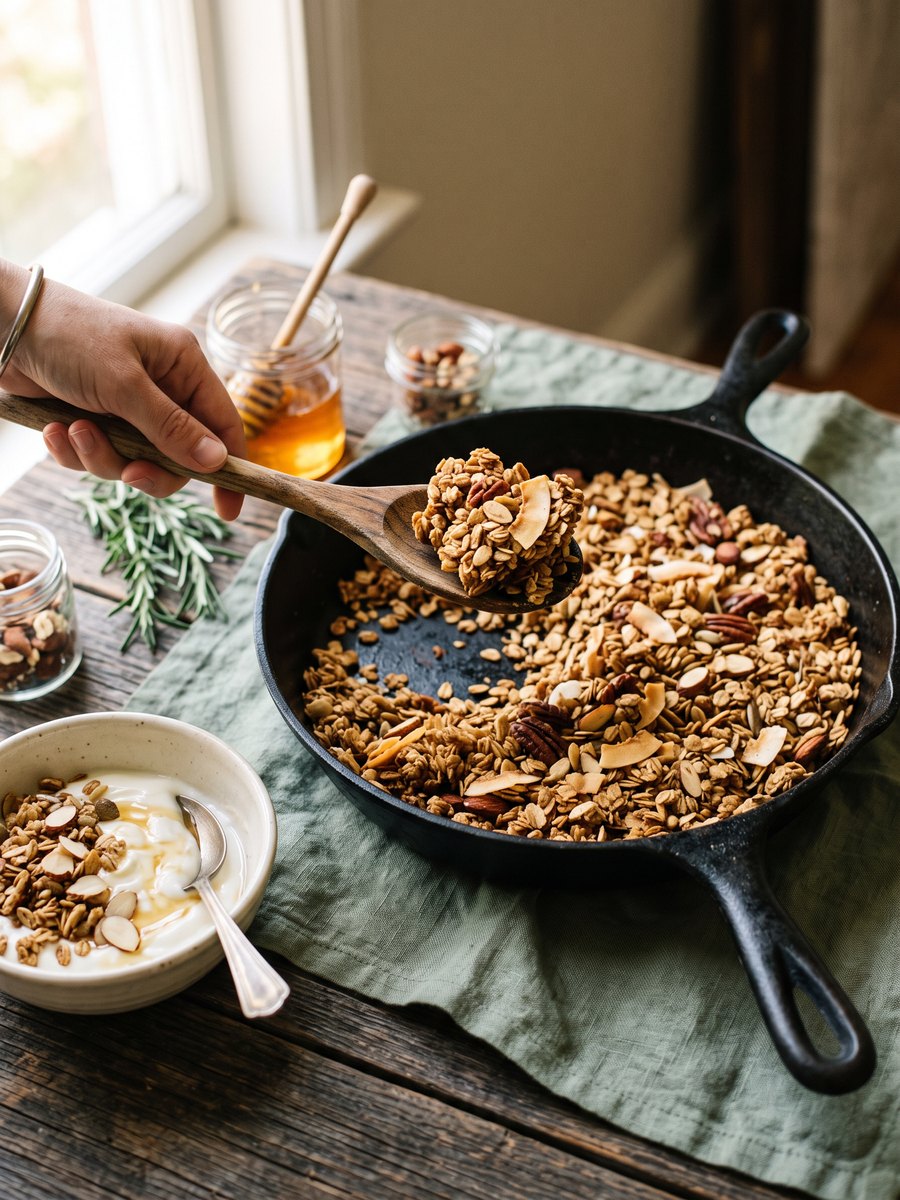
Cast Iron Skillet Granola
A stovetop granola cooked entirely in a skillet over a camp stove, relying on constant motion rather than oven heat to toast the oats.
40 minutes · 6 cups
Outdoor Cooking
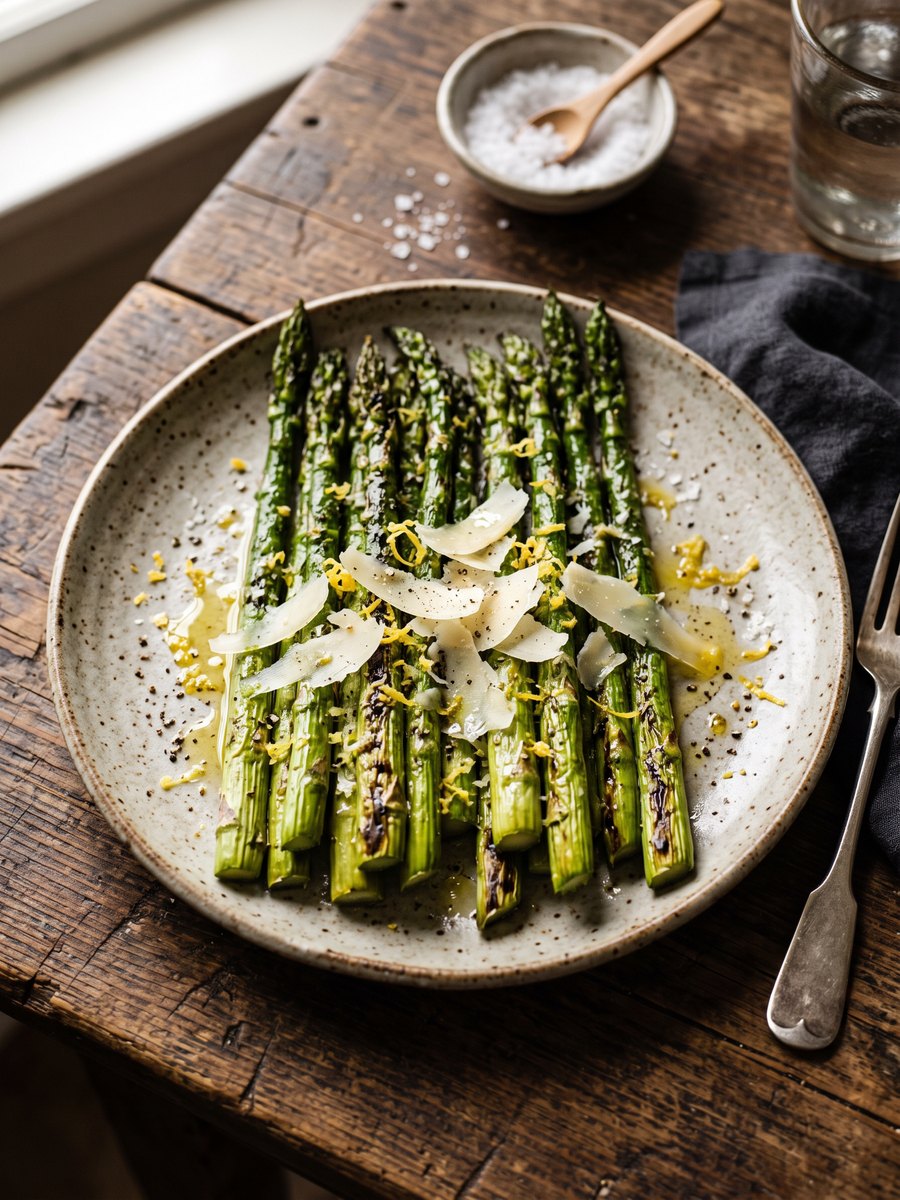
Lemon Garlic Roasted Asparagus with Parmesan
Asparagus does not need rescuing. It needs high heat and about twelve minutes of your attention.
22 minutes · 4 servings
Sides & Vegetables