My Menu Mentor · mymenumentor.com/recipes/classic-baked-chicken-cordon-bleu
Back to the indexPoultry
Classic Baked Chicken Cordon Bleu
A reliable method for rolling and baking stuffed chicken breasts that keeps the cheese inside the meat and the breading crisp.
- Prep
- 30 minutes
- Cook
- 35 minutes
- Total
- 1 hour 35 minutes
- Yield
- 4 servings
Print the card
The card carries the title, timings, ingredients and method. Add what you want beside them — currently one sheet.
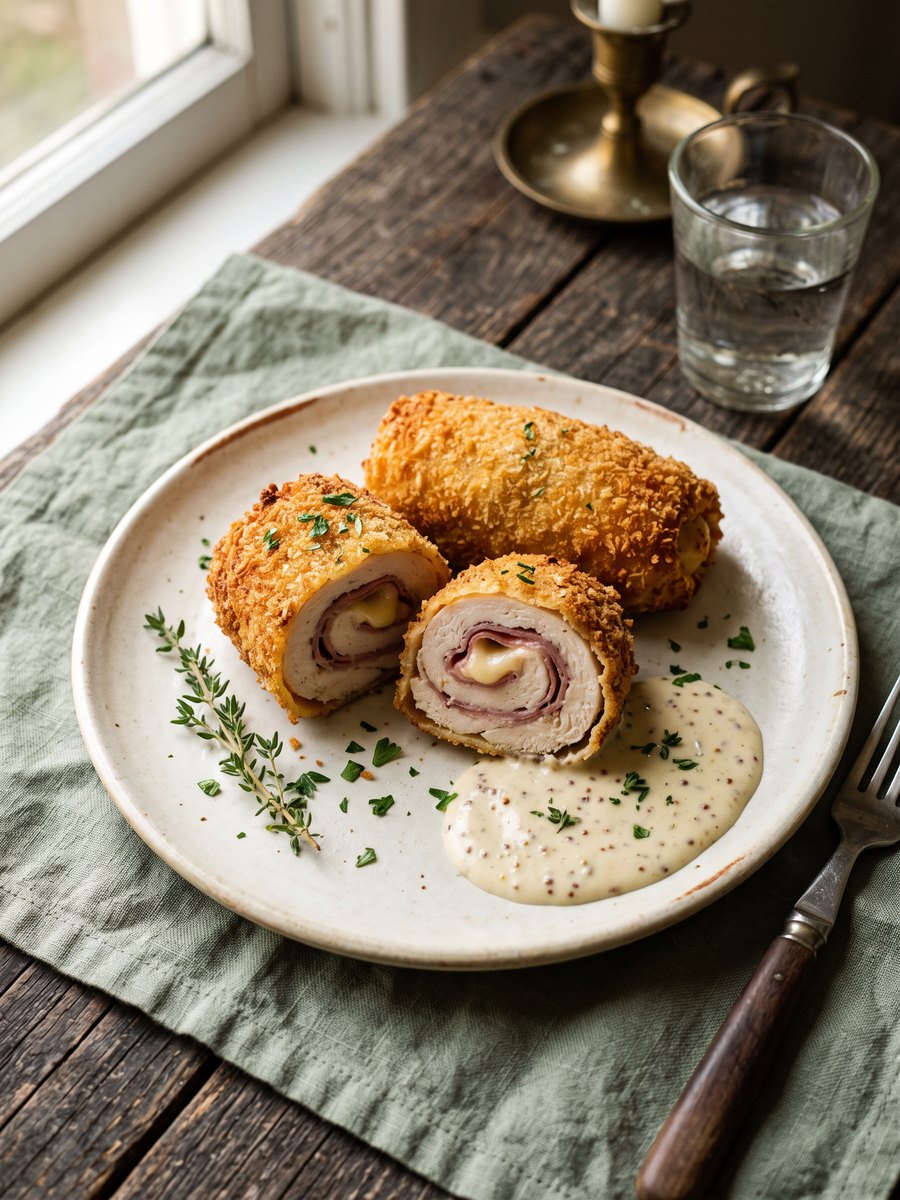
The common failure mode of chicken cordon bleu is structural: the cheese melts out into the pan, leaving a hollow, dry chicken breast sitting in a puddle of scorched dairy. This happens when the meat is pounded too thin, torn during rolling, or improperly sealed. The technique that fixes it is a double-chill method and a tight, overlapping wrap that creates a secure envelope for the filling.
Baking rather than pan-frying provides a gentler, more even heat that cooks the chicken through without burning the exterior. To achieve the crispness of a fried cutlet in the oven, the breadcrumbs are pre-toasted in butter before coating the chicken. Using a firm, low-moisture Swiss or Gruyère cheese further reduces the risk of blowouts, as it melts slowly and holds its shape better than softer varieties.
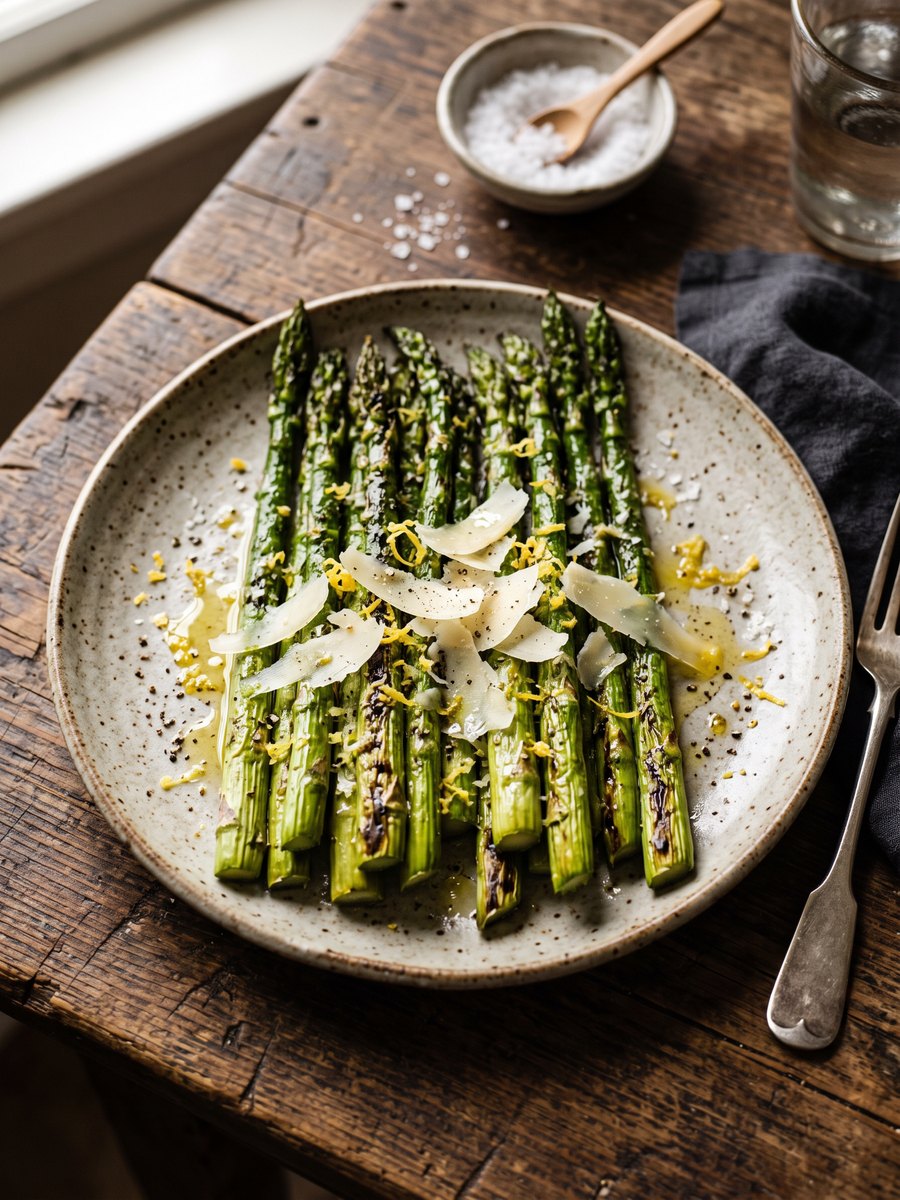
This dish requires some advance preparation due to the chilling steps, making it better suited for a weekend dinner or a planned gathering rather than a rushed weeknight meal. Serve it alongside roasted asparagus or a simple green salad with a sharp vinaigrette to cut through the richness of the ham and cheese. Leftovers can be stored in an airtight container in the refrigerator for up to three days and reheated in a 350°F oven until warmed through.
What you need
Ingredients
Measurements
Metric converts only measures that are mathematically safe. Density-dependent cups stay as Nicole wrote them.
Scale the batch
4 servings
- 4 boneless, skinless chicken breasts (about 6 ounces each)
- 1/2 teaspoon kosher salt
- 1/4 teaspoon freshly ground black pepper
- 4 slices deli ham (about 4 ounces total)
- 4 slices Swiss or Gruyère cheese (about 4 ounces total)
- 1/2 cup all-purpose flour
- 2 large eggs
- 1 tablespoon Dijon mustard
- 1 1/2 cups panko breadcrumbs
- 3 tablespoons unsalted butter, melted
How it goes
Method
Read the whole thing once before you start. Nothing here is difficult, but the timing is unforgiving at the end.
Pound the chicken
Place each chicken breast between two sheets of plastic wrap. Using a meat mallet or heavy skillet, gently pound the meat to an even 1/4-inch thickness, taking care not to tear the flesh. Season both sides evenly with the kosher salt and black pepper.
Layer and roll
Lay one slice of ham and one slice of cheese on each flattened chicken breast, leaving a 1/2-inch border around the edges. Starting from the narrow end, roll the chicken tightly, tucking in the sides as you go to enclose the filling completely.
Chill the rolls
Wrap each rolled chicken breast tightly in plastic wrap, twisting the ends to form a firm cylinder. Refrigerate for at least 30 minutes. This resting period helps the chicken hold its shape during the breading and baking process.
Toast the breadcrumbs
While the chicken chills, preheat the oven to 400°F. In a medium bowl, toss the panko breadcrumbs with the melted butter until evenly coated. Spread them on a rimmed baking sheet and bake for 3 to 5 minutes, stirring once, until light golden brown. Transfer back to the bowl and let cool.
Set up breading station
Place the flour in a shallow dish. In a second shallow dish, whisk together the eggs and Dijon mustard until smooth. Place the toasted panko in a third shallow dish. Line a rimmed baking sheet with parchment paper or a wire rack.
Bread the chicken
Unwrap the chilled chicken rolls. Dredge each roll in the flour, shaking off the excess. Dip into the egg mixture, ensuring it is completely coated, then roll in the toasted panko, pressing gently so the crumbs adhere to all sides.
Bake until done
Place the breaded rolls seam-side down on the prepared baking sheet. Bake for 25 to 30 minutes, or until the chicken is cooked through and registers 165°F on an instant-read thermometer inserted into the thickest part of the meat. Let rest for 5 minutes before slicing.
On the bench
Equipment
2 of these change the result. The rest are conveniences, with a workaround given. Nothing here is a brand recommendation — the spec is what matters.
The search links are paid affiliate links. If you buy through one, My Menu Mentor may earn a commission at no extra cost to you. No prices are shown because we will not quote a price we cannot keep current.
Meat mallet or heavy skillet
OptionalPounding the breasts to an even 1/4-inch thickness without tearing is critical so the chicken cooks evenly and the cheese doesn't leak during baking.
- What matters
- A flat-faced meat mallet or a heavy skillet used between two sheets of plastic to gently and evenly flatten each breast to 1/4-inch thickness.
- If you skip it
- Use a heavy skillet or rolling pin between two sheets of plastic wrap to gently pound the chicken to the specified thickness.
- Search for
- “meat mallet flat face” (paid link)
Instant-read thermometer
An instant-read thermometer confirms the rolled chicken has reached 165°F in the thickest part without overcooking the exterior, ensuring food safety and the intended juiciness.
- What matters
- Digital instant-read thermometer with a narrow probe and a fast response time under 5 seconds for accurate spot checks.
Rimmed baking sheet (lined with parchment or wire rack)
Toasting the panko and baking the rolls seam-side down both require a rimmed sheet to catch crumbs and melted butter and to promote even browning.
- What matters
- Rimmed baking sheet large enough for all four rolls, used either lined with parchment or fitted with a wire rack for airflow.
The list
What to buy
The same 10 ingredients, sorted the way a store is laid out rather than the order you cook them. Tick things off as you go.
0 of 10 gathered
Produce
Meat & Seafood
Dairy & Eggs
Pantry
Spices & Staples
Everything else
Shop these ingredients
One-tap grocery delivery for this list is planned, and this is where it will appear. Until it is connected, copy the list and paste it into whichever grocery app you already use.
Ticks stay in this browser tab only — nothing is saved or sent anywhere.
Cook's notes
What we would tell a friend
- To prevent the cheese from leaking, ensure the chicken is pounded to an even thickness without any holes, and leave an adequate border when placing the ham and cheese.
- The chicken rolls can be assembled, wrapped in plastic, and refrigerated up to a day in advance. Proceed with the breading and baking steps when ready to cook.
- If you prefer a richer flavor, substitute prosciutto for the deli ham, but be mindful of the added saltiness when seasoning the chicken.
- Do not skip toasting the panko breadcrumbs. Baking the chicken will not brown the breading sufficiently, and pre-toasting ensures a crisp, golden exterior.
From the kitchen
Loading notes…
Keep reading
Next in the index
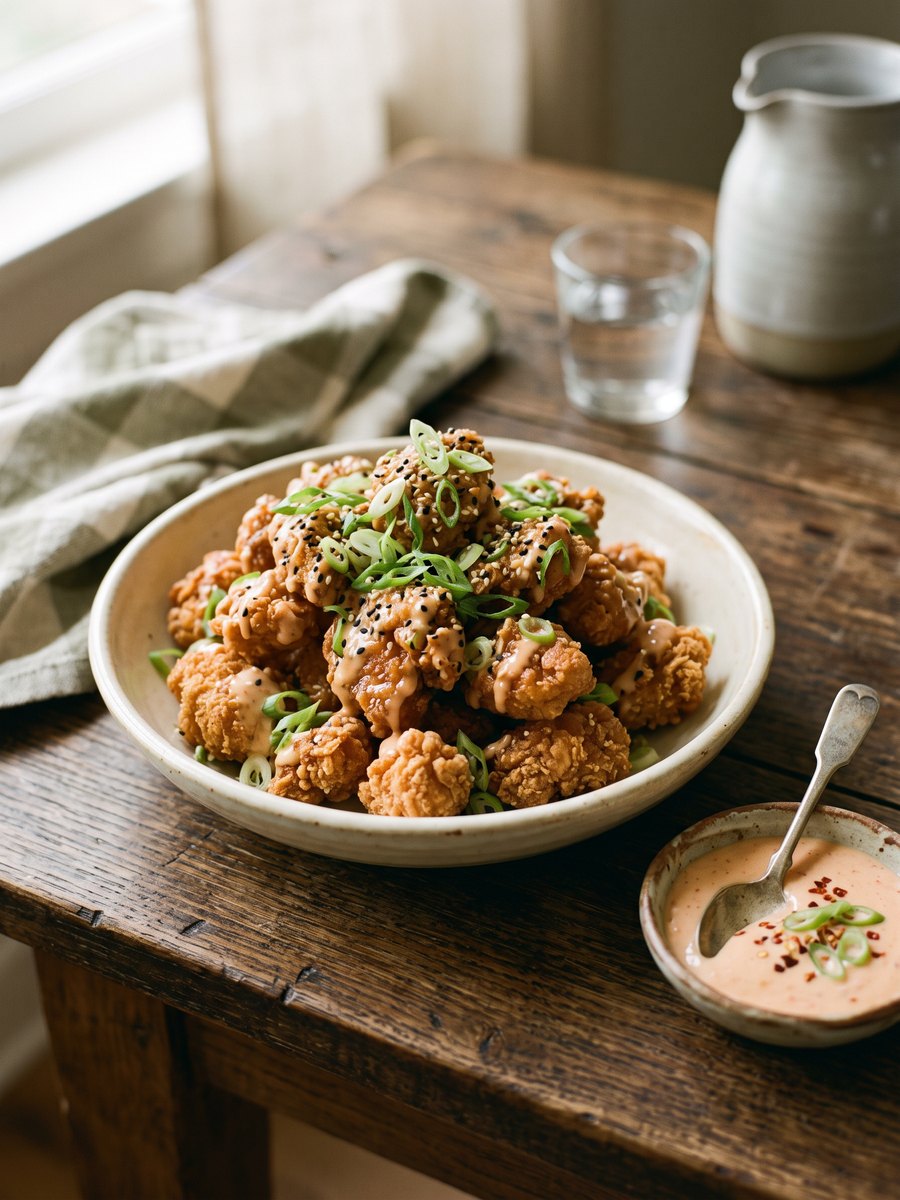
Crispy Bang Bang Chicken Bites
A shallow-fried chicken dish that relies on a cornstarch dredge for a shattering crust, coated in a sweet chili mayonnaise.
35 minutes · 4 servings
Poultry
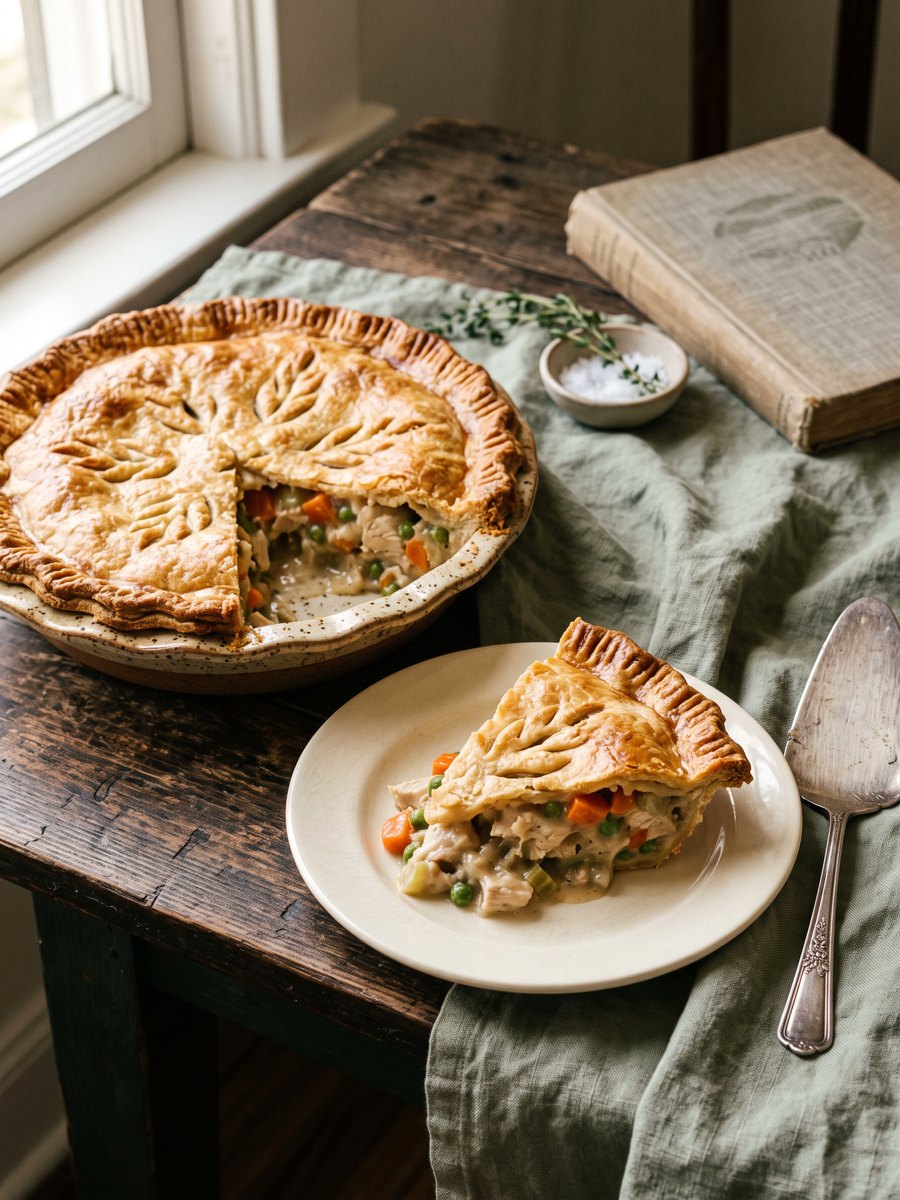
Classic Double-Crust Chicken Pot Pie
A proper pot pie requires a sturdy crust that shatters when cut, built over a filling thick enough to hold its shape on the plate.
1 hour 40 minutes · 6 servings
Poultry