My Menu Mentor · mymenumentor.com/recipes/fudgy-cocoa-skillet-brownies
Back to the indexDesserts
Fudgy Cocoa Skillet Brownies
A dense, deeply chocolate brownie built entirely in a cast iron skillet to eliminate extra bowls and guarantee a chewy edge.
- Prep
- 15 minutes
- Cook
- 25 minutes
- Total
- 2 hours 40 minutes
- Yield
- one 10-inch skillet
Print the card
The card carries the title, timings, ingredients and method. Add what you want beside them — currently one sheet.
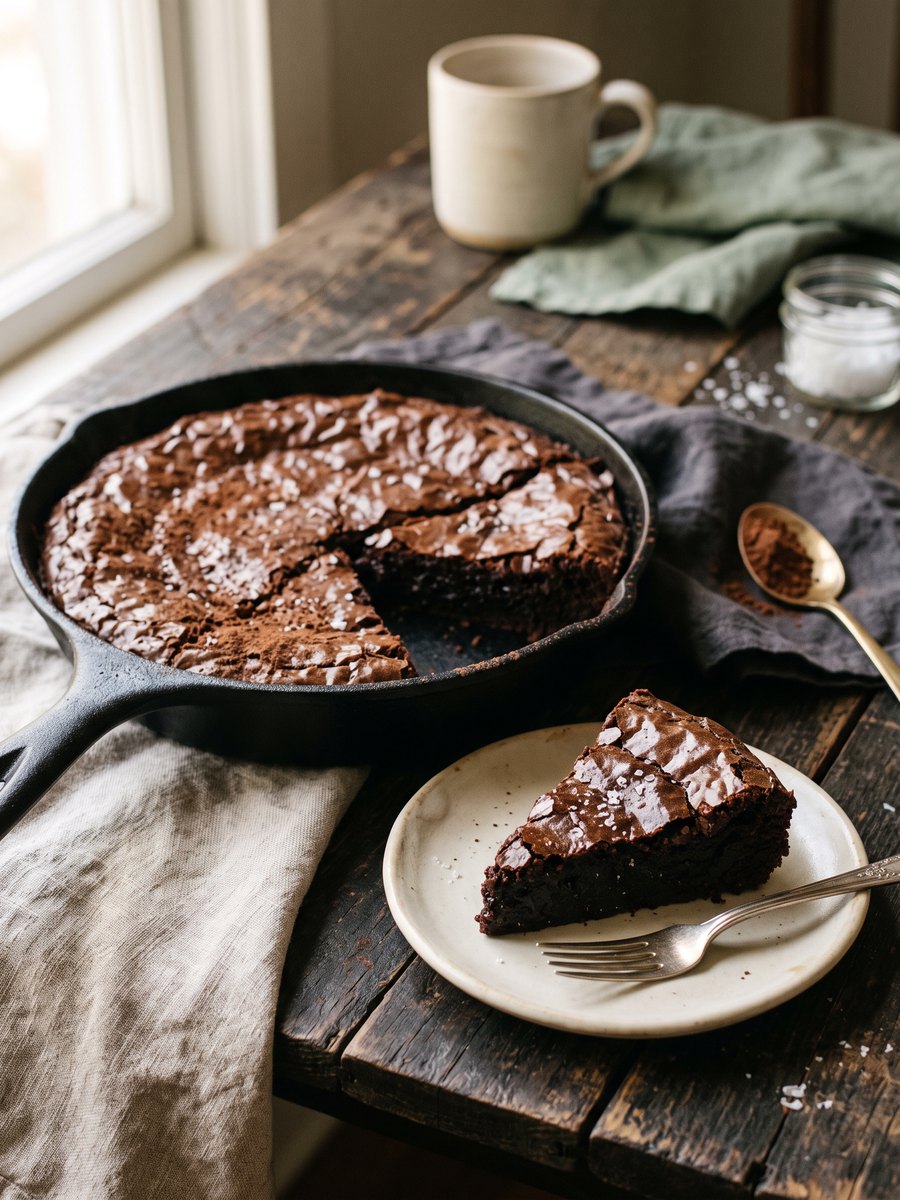
Most homemade brownies fail by leaning too heavily on melted chocolate bars, which introduce unpredictable amounts of cocoa butter and sugar. This throws off the fat ratio, resulting in a cakey texture or a greasy surface. The solution is to rely on Dutch-process cocoa powder for the chocolate flavor, controlling the fat entirely through butter and oil.
Using a cast iron skillet serves two purposes. First, it allows you to melt the butter and bloom the cocoa powder directly on the stove, deepening the chocolate flavor before the batter is even mixed. Second, the heavy iron conducts heat aggressively to the edges of the batter in the oven, creating a chewy, caramelized crust that a glass or aluminum pan cannot replicate.
These brownies require a full two hours of cooling before slicing; cutting them while warm will result in a crumbling mess. They keep well at room temperature for up to four days when wrapped tightly, and the flavor deepens significantly on the second day. Serve them plain, or alongside a scoop of vanilla ice cream to cut the intensity.
What you need
Ingredients
Measurements
Metric converts only measures that are mathematically safe. Density-dependent cups stay as Nicole wrote them.
Scaling this one
This recipe is written to fill one 10-inch skillet, so there is no batch slider: doubling the quantities would not give you a deeper pan, it would give you two of them — and the bake time and temperature below would no longer be right. To make more, run the recipe twice in separate tins rather than crowding one.
- 10 tablespoons unsalted butter
- 1 1/4 cups granulated sugar
- 3/4 cup Dutch-process cocoa powder
- 1/2 teaspoon kosher salt
- 1 teaspoon vanilla extract
- 2 large eggs, cold
- 1/2 cup all-purpose flour
- 1/2 cup semisweet chocolate chips
How it goes
Method
Read the whole thing once before you start. Nothing here is difficult, but the timing is unforgiving at the end.
Melt and bloom
Place a 10-inch cast iron skillet over medium-low heat. Melt the butter, then whisk in the sugar, cocoa powder, and salt. The mixture will look gritty. Remove from heat and let cool for five minutes.
Incorporate the eggs
Whisk the vanilla into the warm cocoa mixture. Add the cold eggs one at a time, whisking vigorously after each addition. The batter will transition from grainy to thick, glossy, and smooth.
Fold in the flour
Add the flour and fold gently with a rubber spatula just until no dry streaks remain. Overmixing at this stage will develop gluten and make the brownies tough rather than fudgy.
Add the chocolate chips
Fold in the chocolate chips. Spread the batter evenly across the bottom of the skillet, smoothing the top. The batter will be quite thick and require some coaxing to reach the edges.
Bake the brownies
Bake at 325°F for 22 to 25 minutes. The edges should look set and slightly puffed, while the center remains soft. A toothpick inserted into the center should emerge with moist crumbs, not wet batter.
Cool completely
Transfer the skillet to a wire rack. Allow the brownies to cool completely in the pan for at least two hours before slicing into wedges. This resting period is mandatory for the fudgy texture to set.
On the bench
Equipment
2 of these change the result. The rest are conveniences, with a workaround given. Nothing here is a brand recommendation — the spec is what matters.
The search links are paid affiliate links. If you buy through one, My Menu Mentor may earn a commission at no extra cost to you. No prices are shown because we will not quote a price we cannot keep current.
10-inch cast iron skillet
The recipe depends on a 10-inch cast iron skillet to brown the butter on the stovetop and then go straight into the oven — a different pan will change heat retention and the bake time, altering the fudgy texture.
- What matters
- Well-seasoned 10-inch cast iron with a flat bottom and oven-safe handle, sized to hold the specified batter without overflowing.
- Search for
- “10 inch cast iron skillet” (paid link)
Heatproof rubber (silicone) spatula
Folding the thick batter and coaxing it to the skillet edges requires a flexible, heat-tolerant spatula so you don't tear the batter or scrape the skillet poorly.
- What matters
- A silicone or rubber spatula with a thin, flexible head and a heat tolerance of at least 400°F, long enough to reach the pan bottom.
- Search for
- “heatproof silicone spatula” (paid link)
Wire cooling rack
OptionalRemoving the hot skillet to a raised wire rack prevents trapped steam from softening the bottom as the brownies cool and is mandatory for the fudgy texture to set properly.
- What matters
- Stainless steel wire rack large enough to support a 10-inch skillet and allow air circulation beneath the pan.
- If you skip it
- Use a heatproof trivet or a stack of oven mitts to raise the skillet off the countertop so air can circulate underneath.
The list
What to buy
The same 8 ingredients, sorted the way a store is laid out rather than the order you cook them. Tick things off as you go.
0 of 8 gathered
Dairy & Eggs
Pantry
Spices & Staples
Everything else
Shop these ingredients
One-tap grocery delivery for this list is planned, and this is where it will appear. Until it is connected, copy the list and paste it into whichever grocery app you already use.
Ticks stay in this browser tab only — nothing is saved or sent anywhere.
Cook's notes
What we would tell a friend
- Do not substitute natural cocoa powder for Dutch-process; the acidity levels differ and will affect the final texture and flavor depth.
- If you do not have a 10-inch cast iron skillet, you can use an 8x8-inch metal baking pan, but you will need to melt the butter in a separate saucepan first.
- For a cleaner slice, wipe your knife with a damp paper towel between each cut. The dense center will otherwise cling to the blade and tear the next piece.
From the kitchen
Loading notes…
Keep reading
Next in the index
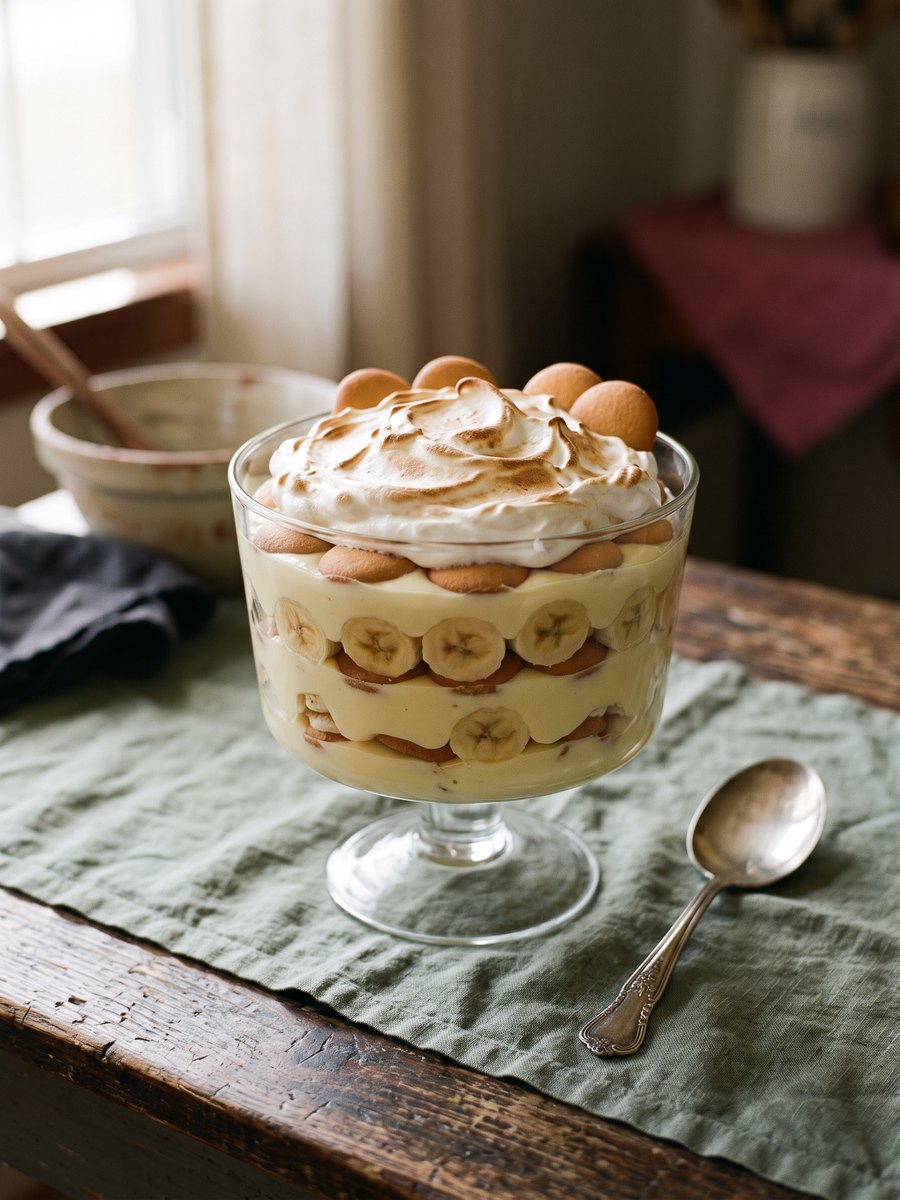
From-Scratch Vanilla Wafer Banana Pudding
A proper custard base cooked on the stove, layered with ripe fruit and vanilla wafers, then chilled until the cookies soften into cake.
4 hours 35 minutes · 8 to 10 servings
Desserts
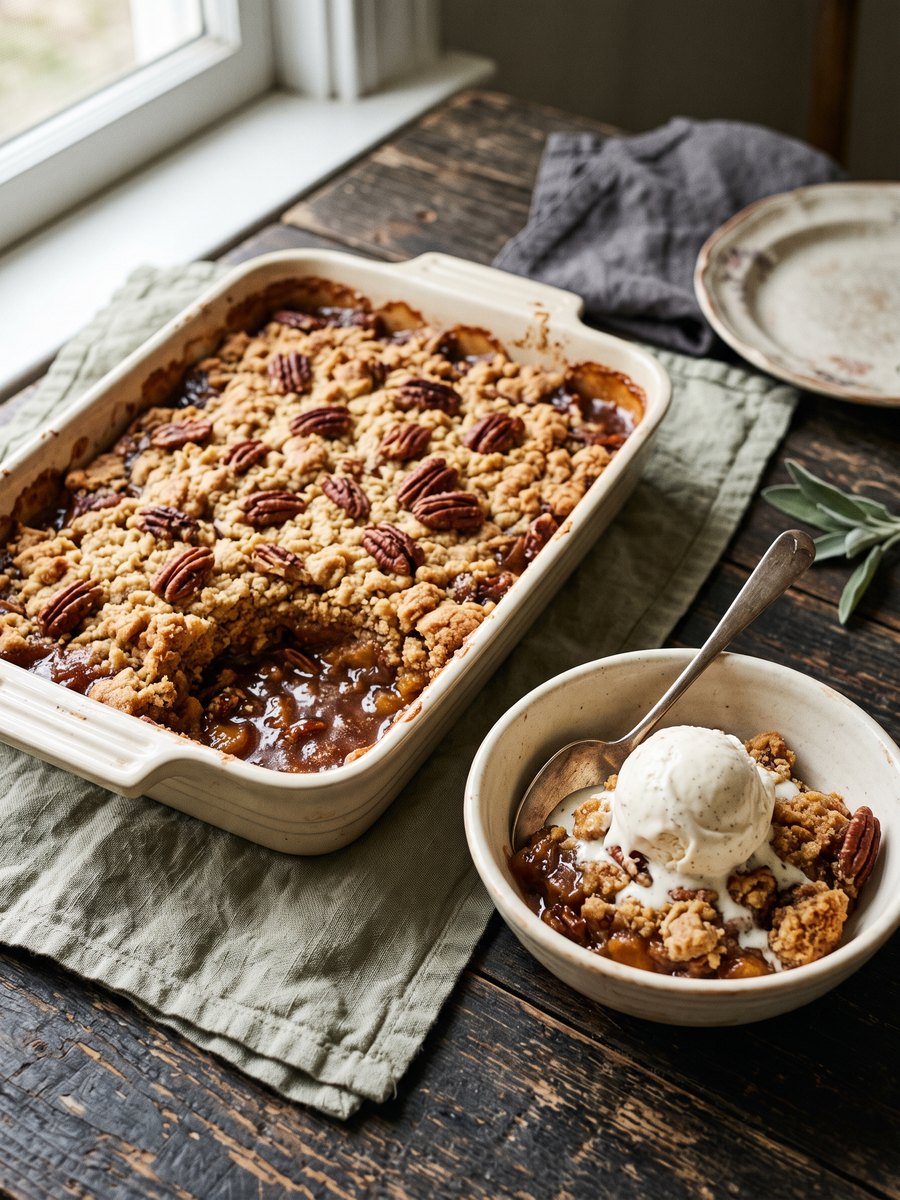
Brown Butter Pecan Dump Cake
A boxed yellow cake mix transformed by browned butter and toasted pecans into a dense, caramelized dessert that requires no mixing bowls.
1 hour · one 9x13 pan
Desserts