My Menu Mentor · mymenumentor.com/recipes/from-scratch-vanilla-wafer-banana-pudding
Back to the indexDesserts
From-Scratch Vanilla Wafer Banana Pudding
A proper custard base cooked on the stove, layered with ripe fruit and vanilla wafers, then chilled until the cookies soften into cake.
- Prep
- 20 minutes
- Cook
- 15 minutes
- Total
- 4 hours 35 minutes
- Yield
- 8 to 10 servings | one 3-quart dish
Print the card
The card carries the title, timings, ingredients and method. Add what you want beside them — currently one sheet.
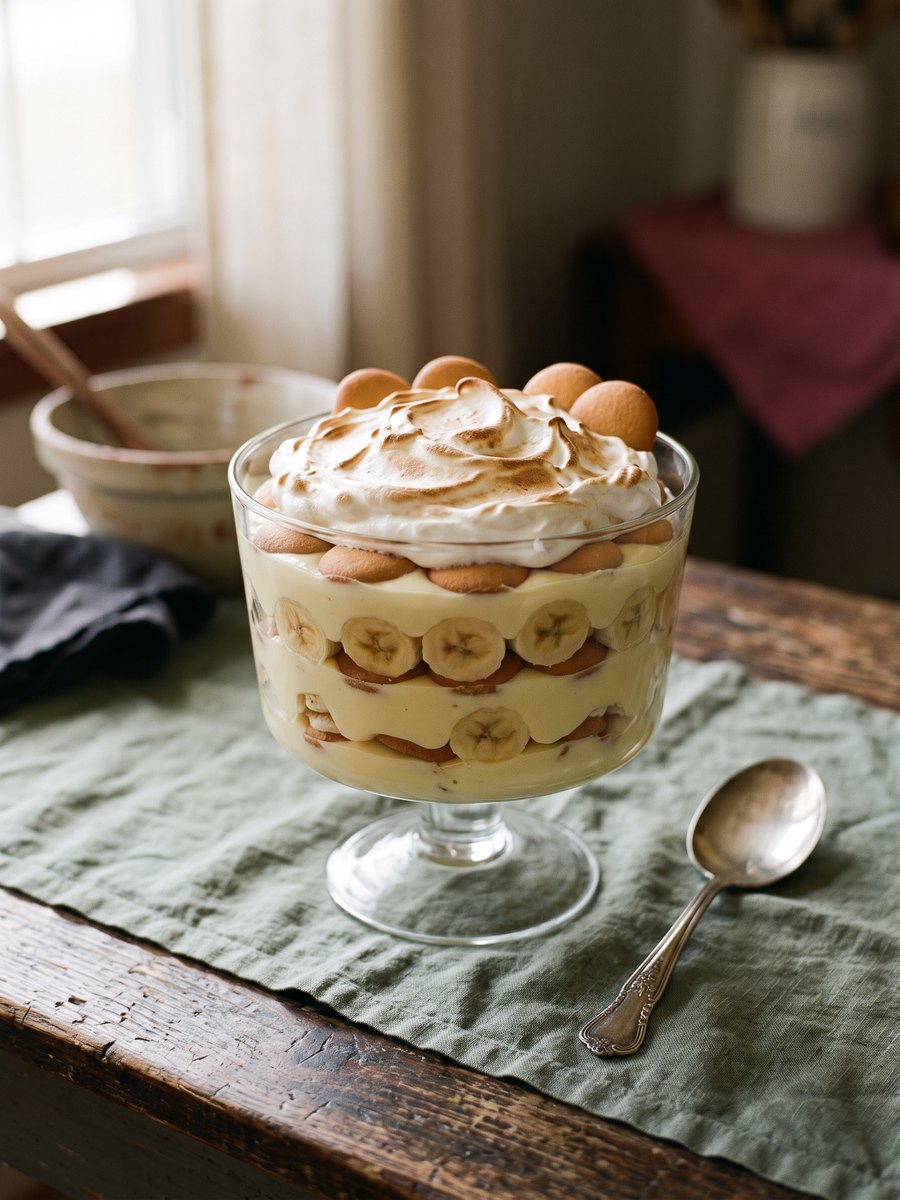
Most banana pudding fails because it relies on instant boxed mixes, resulting in a cloying, artificial flavor and a texture that weeps water after a day. The fix is a traditional cooked custard made with egg yolks, whole milk, and real vanilla. It takes ten minutes of whisking at the stove, but it yields a stable, rich pudding that holds its structure when layered.
The bananas must be ripe but not entirely brown; they need enough structure to hold their shape under the weight of the custard. The vanilla wafers serve a structural purpose, absorbing moisture from the pudding and the fruit over several hours until their texture transforms from crisp cookie to dense sponge cake.
This dessert requires time to set. It must be assembled at least four hours before serving, though overnight is better. It is best served cold, scooped directly from a glass trifle bowl or a deep baking dish, and will keep in the refrigerator for up to three days before the bananas begin to oxidize significantly.
What you need
Ingredients
Measurements
Metric converts only measures that are mathematically safe. Density-dependent cups stay as Nicole wrote them.
Scale the batch
8 to 10 servings | one 3-quart dish
Custard
- 3/4 cup granulated sugar
- 1/3 cup all-purpose flour
- 1/4 teaspoon kosher salt
- 3 large egg yolks
- 3 cups whole milk
- 1 tablespoon unsalted butter
- 2 teaspoons pure vanilla extract
Assembly
- 1 (11-ounce) box vanilla wafers
- 5 to 6 medium bananas, ripe but firm, sliced into 1/4-inch rounds
How it goes
Method
Read the whole thing once before you start. Nothing here is difficult, but the timing is unforgiving at the end.
Whisk the dry ingredients
In a medium heavy-bottomed saucepan, whisk together the sugar, flour, and salt. Whisking these before adding liquid prevents the flour from clumping when the milk is introduced.
Combine yolks and milk
In a separate bowl, whisk the egg yolks and whole milk until smooth. Gradually pour this mixture into the saucepan with the dry ingredients, whisking constantly until completely smooth.
Cook the custard
Place the saucepan over medium heat. Cook, whisking constantly and scraping the bottom and corners of the pan, until the mixture thickens and begins to bubble, about 10 to 12 minutes. It is done when it coats the back of a spoon and holds a line drawn through it.
Finish the custard
Remove the pan from the heat immediately. Whisk in the butter and vanilla extract until the butter is melted and fully incorporated. Let the custard cool for 5 minutes, stirring occasionally to prevent a skin from forming.
Layer the pudding
In a 3-quart glass bowl or a 9x13-inch baking dish, arrange a single layer of vanilla wafers. Top with an even layer of sliced bananas. Pour one-third of the warm custard over the bananas, spreading it to the edges.
Repeat and chill
Repeat the layering process twice more: wafers, bananas, and custard. Finish with a final layer of wafers on top. Cover tightly with plastic wrap, pressing it directly onto the surface of the top wafers to prevent oxidation. Chill in the refrigerator for at least 4 hours, or overnight, before serving.
On the bench
Equipment
All 3 of these change the result. Nothing here is a brand recommendation — the spec is what matters.
The search links are paid affiliate links. If you buy through one, My Menu Mentor may earn a commission at no extra cost to you. No prices are shown because we will not quote a price we cannot keep current.
Heavy-bottomed saucepan
The custard must be heated evenly while whisking constantly; a thin pan will scorch the flour-thickened mixture and create lumps and off flavors.
- What matters
- Heavy-bottomed 2- to 3-quart saucepan (thick gauge stainless or enameled) to distribute heat and resist hot spots.
Stainless-steel whisk
Constant, vigorous whisking prevents flour from forming lumps and keeps the custard smooth as it comes to a simmer.
- What matters
- Medium-size stainless-steel balloon whisk that is heat resistant and comfortable for 10-12 minutes of whisking.
3-quart glass serving bowl or 9x13-inch dish
The recipe's layering depth and chilling time are designed for a 3-quart container; a much shallower or deeper dish will change wafer softening and final texture.
- What matters
- 3-quart glass bowl or an equivalent 9x13-inch baking dish that provides even coverage for three custard layers.
- Search for
- “3-quart glass serving bowl” (paid link)
The list
What to buy
The same 9 ingredients, sorted the way a store is laid out rather than the order you cook them. Tick things off as you go.
0 of 9 gathered
Produce
Dairy & Eggs
Pantry
Spices & Staples
Shop these ingredients
One-tap grocery delivery for this list is planned, and this is where it will appear. Until it is connected, copy the list and paste it into whichever grocery app you already use.
Ticks stay in this browser tab only — nothing is saved or sent anywhere.
Cook's notes
What we would tell a friend
- To prevent the bananas from browning while you assemble, you can toss the slices very lightly in a teaspoon of lemon juice, though this will add a slight tartness to the final dish.
- The custard must be warm when poured over the layers. The heat helps soften the vanilla wafers more effectively than cold pudding would.
- If you prefer a meringue topping, reserve the three egg whites. Whip them with a quarter cup of sugar until stiff peaks form, spread over the assembled pudding, and bake at 350°F for 10 minutes until browned, then chill.
From the kitchen
Loading notes…
Keep reading
Next in the index
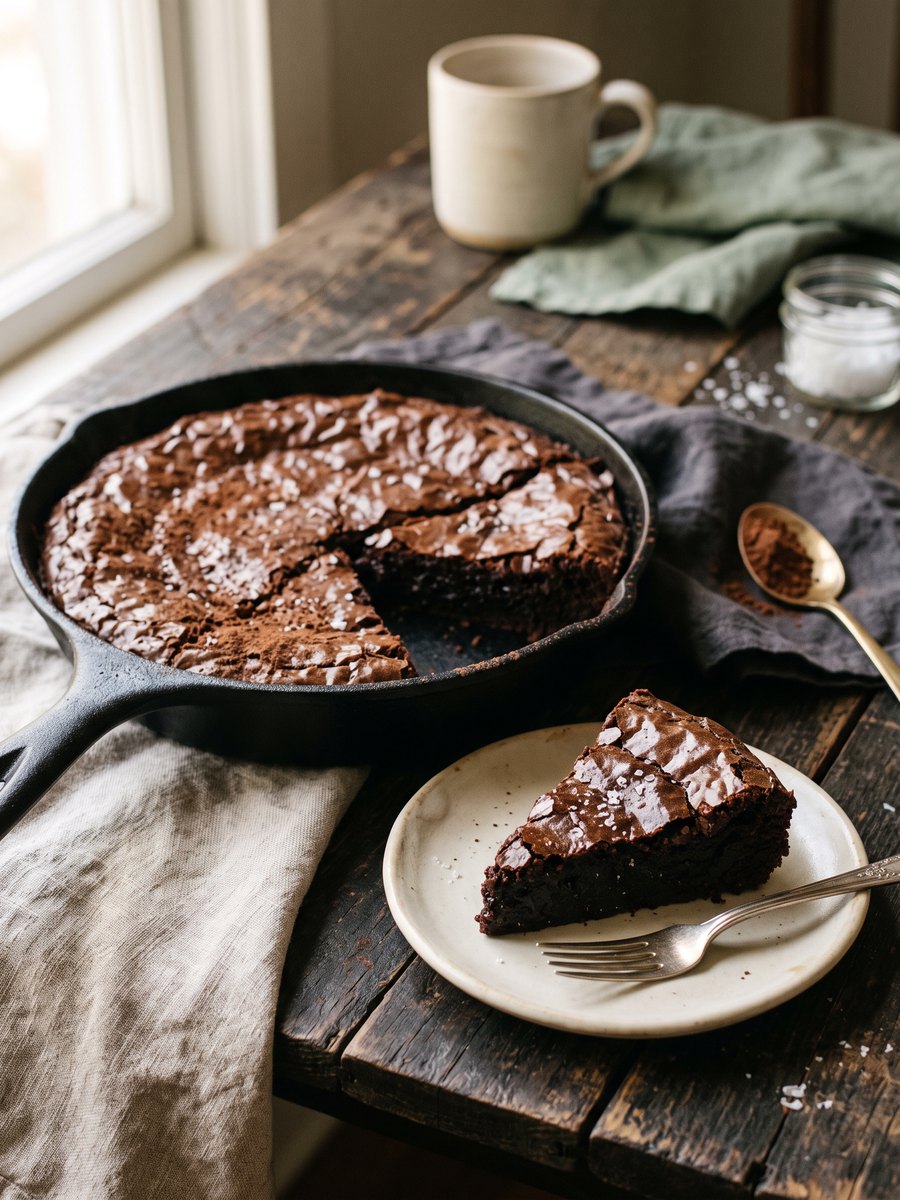
Fudgy Cocoa Skillet Brownies
A dense, deeply chocolate brownie built entirely in a cast iron skillet to eliminate extra bowls and guarantee a chewy edge.
2 hours 40 minutes · one 10-inch skillet
Desserts
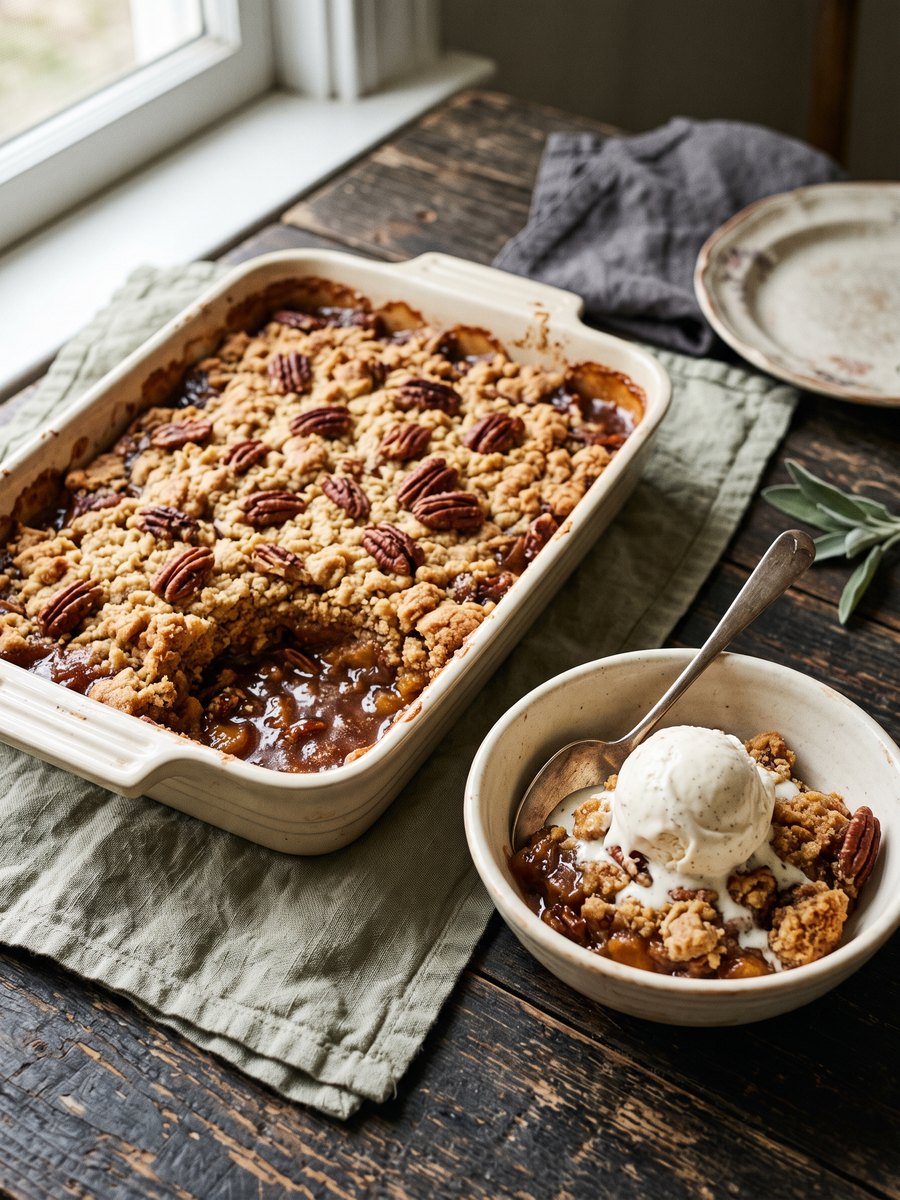
Brown Butter Pecan Dump Cake
A boxed yellow cake mix transformed by browned butter and toasted pecans into a dense, caramelized dessert that requires no mixing bowls.
1 hour · one 9x13 pan
Desserts