My Menu Mentor · mymenumentor.com/recipes/sheet-pan-zaatar-chickpeas-squash
Back to the indexSheet Pan
Sheet Pan Za'atar Chickpeas and Squash
A dinner built entirely on a single baking sheet, relying on high heat and a heavy hand with the spice blend to turn dense vegetables tender and crisp.
- Prep
- 15 minutes
- Cook
- 35 minutes
- Total
- 50 minutes
- Yield
- 4 servings
Print the card
The card carries the title, timings, ingredients and method. Add what you want beside them — currently one sheet.
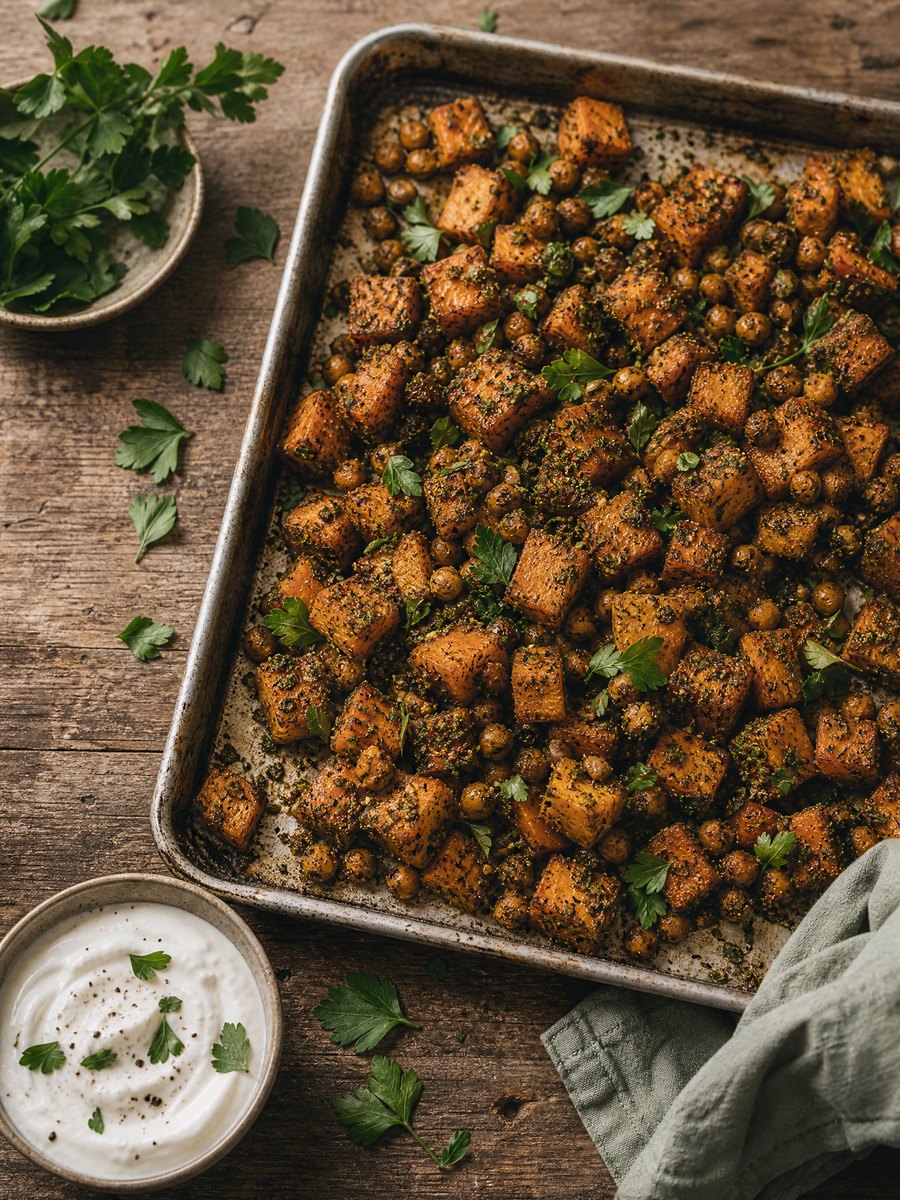
The common failure mode of roasted vegetables is crowding the pan, which traps steam and boils the ingredients in their own moisture. When chickpeas and squash are spread across a wide, hot surface with enough oil, the edges caramelize and the skins blister before the centers turn to mush. This method requires a heavy-duty rimmed baking sheet and an oven hot enough to force the issue.
Za'atar provides the necessary aromatic depth without requiring a long list of individual spices. The blend of thyme, sumac, and sesame seeds clings to the oil-coated chickpeas and squash, toasting in the oven heat. The sumac offers a sharp, acidic counterpoint to the natural sweetness of the roasted squash, while the sesame seeds add a subtle crunch that contrasts with the tender vegetables.
This is a dinner that stays light but is built to keep you full, relying on the fiber from the chickpeas and squash. It requires about ten minutes of active preparation before the oven does the rest of the work. Serve it directly from the pan, perhaps with a spoonful of plain yogurt or a handful of fresh parsley scattered over the top just before eating.
What you need
Ingredients
Measurements
Metric converts only measures that are mathematically safe. Density-dependent cups stay as Nicole wrote them.
Scale the batch
4 servings
- 1 medium butternut squash (about 2 pounds), peeled, seeded, and cut into 1-inch cubes
- 2 cans (15 ounces each) chickpeas, rinsed, drained, and thoroughly dried
- 1/4 cup olive oil
- 3 tablespoons za'atar seasoning blend
- 1 teaspoon kosher salt
- 1/2 teaspoon freshly ground black pepper
- 1/2 cup plain whole milk yogurt, for serving
- 1/4 cup fresh parsley leaves, roughly chopped, for serving
How it goes
Method
Read the whole thing once before you start. Nothing here is difficult, but the timing is unforgiving at the end.
Preheat the oven and pan
Place a heavy-duty rimmed baking sheet in the oven and preheat to 425°F. Heating the pan before adding the ingredients ensures the squash and chickpeas begin roasting immediately upon contact, preventing them from steaming and sticking to the metal.
Dry the chickpeas thoroughly
Spread the rinsed chickpeas on a clean kitchen towel and rub them gently until completely dry. Any residual moisture will create steam in the oven, preventing the chickpeas from achieving a crisp exterior.
Coat the ingredients
In a large bowl, combine the dried chickpeas, cubed squash, olive oil, za'atar, salt, and pepper. Toss vigorously until every piece is evenly coated with the oil and spice blend. The oil is necessary to carry the flavor and conduct the heat.
Roast the mixture
Carefully remove the hot baking sheet from the oven and spread the chickpea and squash mixture in a single, even layer. Return the pan to the oven and roast for 20 minutes without disturbing them, allowing the bottoms to brown and caramelize.
Toss and finish roasting
Remove the pan, use a metal spatula to flip the vegetables and chickpeas, and return to the oven for another 10 to 15 minutes. The dish is done when the squash is easily pierced with a fork and the chickpeas are browned and slightly shrunken.
Garnish and serve
Let the pan cool for 5 minutes before serving. The chickpeas will continue to crisp slightly as they cool. Serve directly from the pan or transfer to plates, topping each portion with a spoonful of yogurt and a scatter of fresh parsley.
On the bench
Equipment
1 of these change the result. The rest are conveniences, with a workaround given. Nothing here is a brand recommendation — the spec is what matters.
The search links are paid affiliate links. If you buy through one, My Menu Mentor may earn a commission at no extra cost to you. No prices are shown because we will not quote a price we cannot keep current.
Heavy-duty rimmed baking sheet (half-sheet)
A heavy rimmed sheet heated in the oven prevents steaming and ensures immediate browning of the squash and chickpeas on contact.
- What matters
- Half-sheet rimmed baking sheet about 13x18 inches made from heavy-gauge metal that won’t warp at 425°F.
Thin metal spatula (turner)
OptionalA thin metal spatula flips chickpeas and squash cleanly without tearing them and scrapes the hot pan to release caramelized bits.
- What matters
- Stainless-steel spatula with a thin, rigid edge and a 2-3-inch-wide blade for turning and scraping.
- If you skip it
- Use a pair of tongs or two forks to turn pieces if a metal turner isn’t available, though they are less efficient for scraping the pan.
The list
What to buy
The same 8 ingredients, sorted the way a store is laid out rather than the order you cook them. Tick things off as you go.
0 of 8 gathered
Produce
Dairy & Eggs
Pantry
Spices & Staples
Everything else
Shop these ingredients
One-tap grocery delivery for this list is planned, and this is where it will appear. Until it is connected, copy the list and paste it into whichever grocery app you already use.
Ticks stay in this browser tab only — nothing is saved or sent anywhere.
Cook's notes
What we would tell a friend
- Drying the chickpeas is the most critical step; if you skip it, they will remain soft and pale regardless of how long they roast.
- Store leftovers in an airtight container in the refrigerator for up to four days. The chickpeas will lose their crunch but the flavors will deepen.
- If your za'atar blend contains salt, reduce the added kosher salt to 1/2 teaspoon to avoid over-seasoning the dish.
- For a more substantial meal, serve the roasted mixture over a bed of cooked quinoa or farro, which will absorb the seasoned oil from the pan.
From the kitchen
Loading notes…
Keep reading
Next in the index
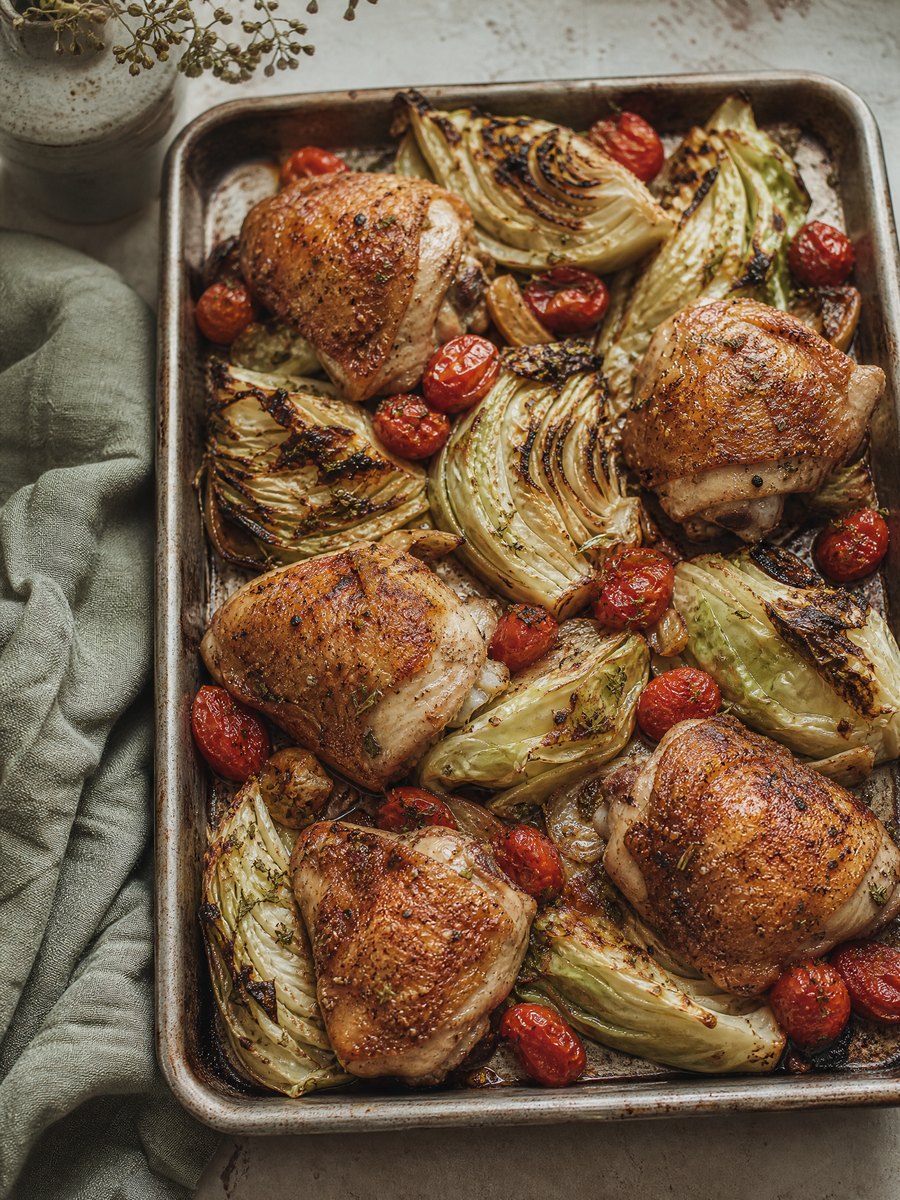
Sheet Pan Chicken Thighs with Cabbage
A single-pan dinner that relies on high heat to turn cabbage from a dense vegetable into something deeply savory and charred.
1 hour · 4 servings
Sheet Pan
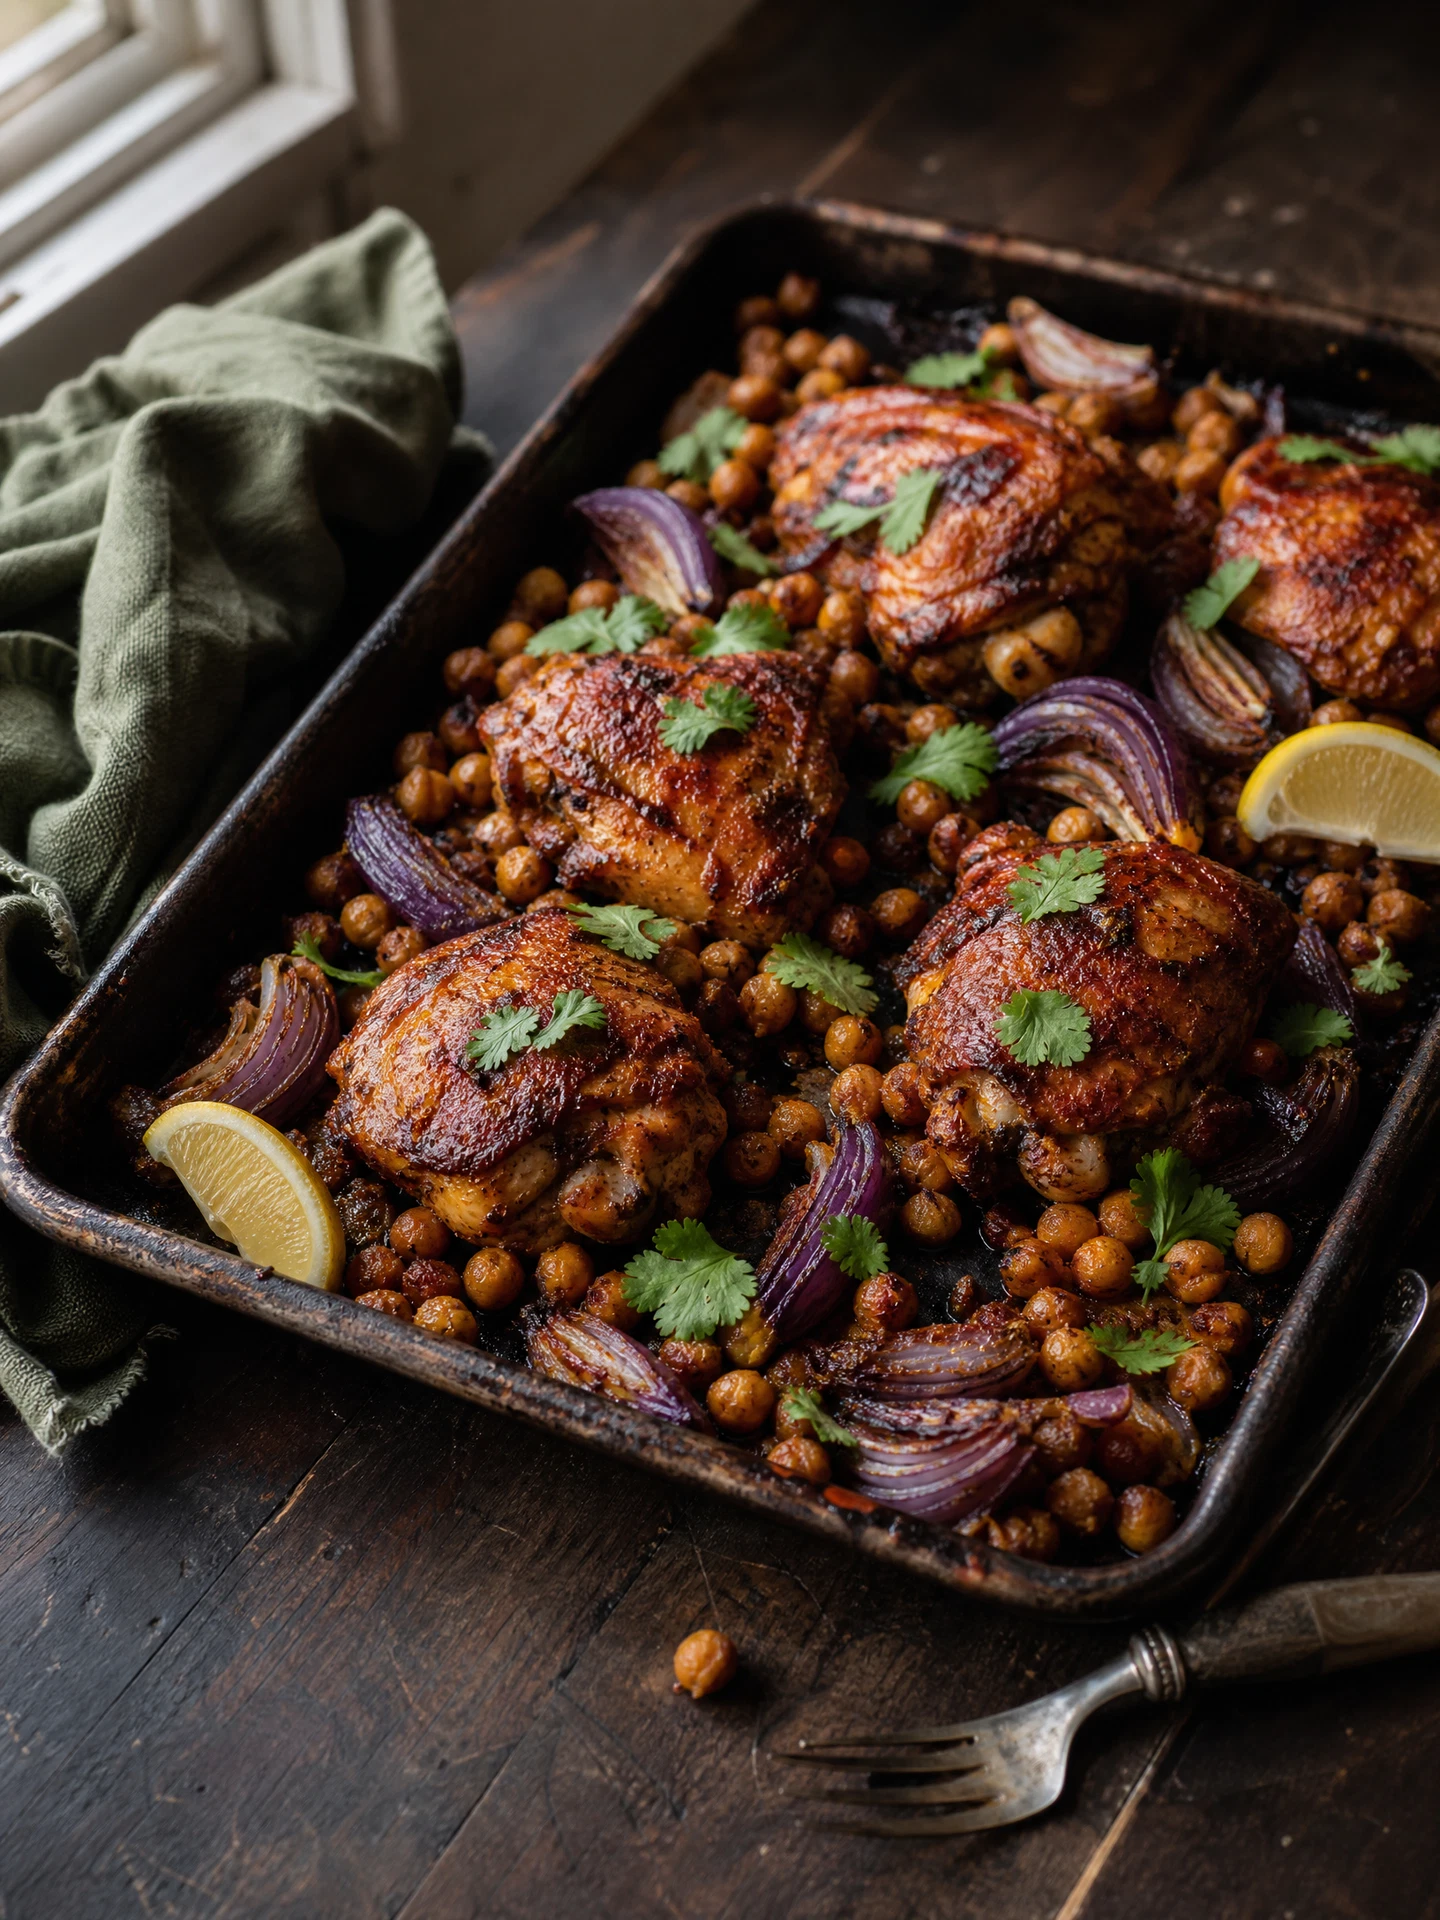
Sheet Pan Harissa Chicken with Chickpeas
One pan, forty minutes, and a tray of chickpeas that turn crisp in the chicken fat instead of steaming into mush.
45 minutes · 4 servings
Sheet Pan