My Menu Mentor · mymenumentor.com/recipes/skillet-chicken-pot-pie-casserole
Back to the indexCasseroles
Skillet Chicken Pot Pie Casserole with Drop Biscuits
A streamlined approach to a classic, relying on a single skillet and a buttermilk drop biscuit topping to avoid the soggy bottom crust.
- Prep
- 25 minutes
- Cook
- 35 minutes
- Total
- 1 hour
- Yield
- 6 servings
Print the card
The card carries the title, timings, ingredients and method. Add what you want beside them — currently one sheet.
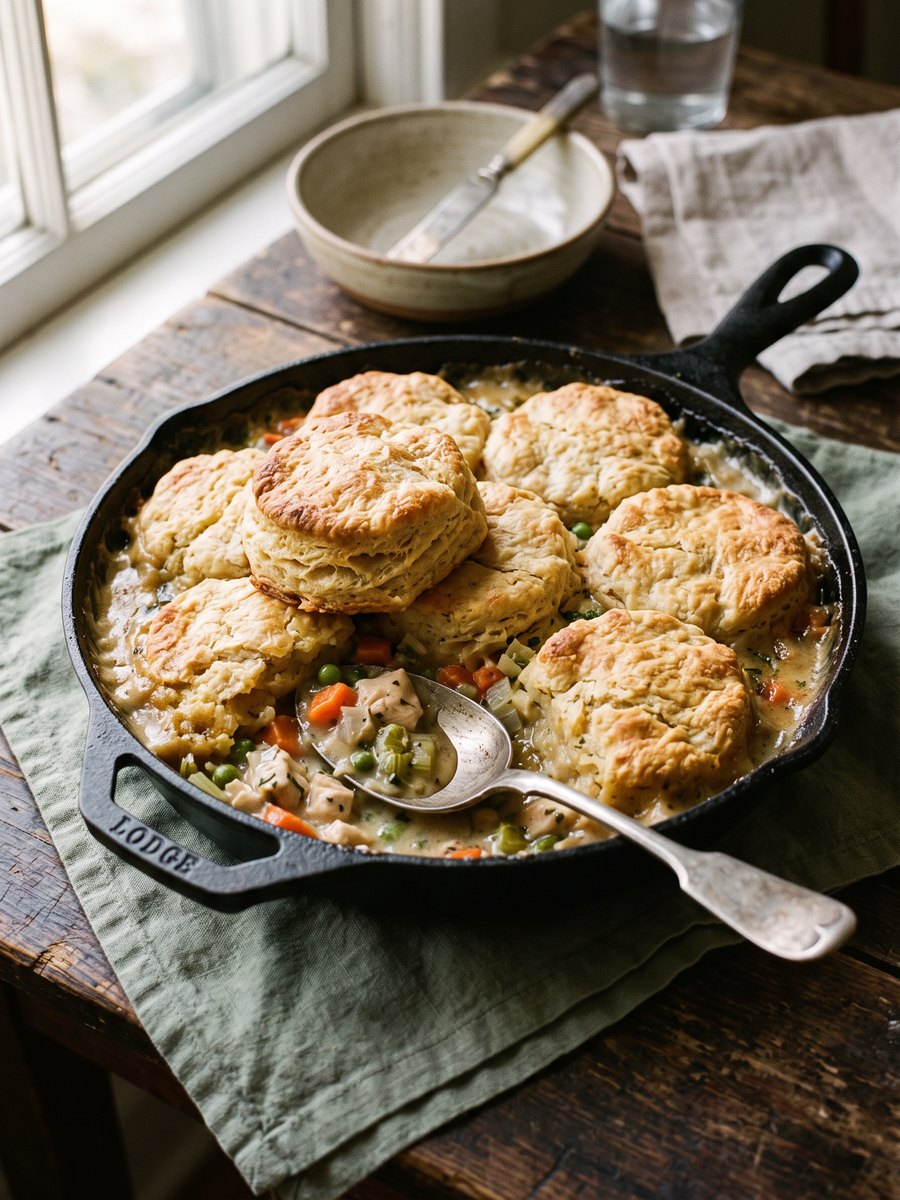
The traditional double-crust chicken pot pie often suffers from a structural flaw: the bottom crust turns to paste under the weight of the filling, while the top crust struggles to vent steam. By eliminating the bottom crust entirely and baking the filling in a wide skillet under a layer of drop biscuits, the steam escapes freely. The biscuits bake through, remaining crisp on top and tender underneath, while the filling thickens properly.
Building the filling starts with a standard mirepoix, but the thickening agent is a simple roux made directly in the pan before adding stock and milk. This prevents the flour from clumping and ensures a smooth, stable gravy that will not separate in the oven. Using cooked, shredded chicken—whether leftover roast chicken or a store-bought rotisserie bird—cuts the preparation time significantly without sacrificing the depth of the final dish.
This casserole is best served immediately after a brief resting period, which allows the gravy to set up slightly so it can be spooned rather than poured. It requires no side dishes, though a sharp, acidic green salad provides a necessary counterpoint to the rich gravy and buttery biscuits. Leftovers can be stored in the refrigerator for up to three days and reheated in a low oven to revive the biscuit topping.
What you need
Ingredients
Measurements
Metric converts only measures that are mathematically safe. Density-dependent cups stay as Nicole wrote them.
Scale the batch
6 servings
Filling
- 4 tablespoons unsalted butter
- 1 medium yellow onion, diced
- 2 medium carrots, peeled and diced
- 2 stalks celery, diced
- 1/3 cup all-purpose flour
- 2 cups low-sodium chicken broth
- 1/2 cup whole milk
- 3 cups cooked chicken, shredded
- 1 cup frozen peas
- 1 teaspoon kosher salt
- 1/2 teaspoon black pepper
- 1/2 teaspoon dried thyme
Biscuit Topping
- 2 cups all-purpose flour
- 1 tablespoon baking powder
- 1 teaspoon kosher salt
- 1/2 cup (1 stick) cold unsalted butter, cubed
- 1 cup cold buttermilk
How it goes
Method
Read the whole thing once before you start. Nothing here is difficult, but the timing is unforgiving at the end.
Preheat and prepare
Preheat the oven to 400°F. Select a 10-inch or 12-inch cast iron skillet or an oven-safe braiser. A wide, shallow pan ensures the filling reduces properly and provides enough surface area for the biscuits to bake without crowding.
Sweat the vegetables
Melt the butter in the skillet over medium heat. Add the onion, carrots, and celery. Cook, stirring occasionally, until the onions are translucent and the carrots have softened slightly, about 8 minutes. Do not let the vegetables brown.
Build the roux
Sprinkle the flour evenly over the softened vegetables. Stir constantly for 2 minutes. The mixture will look dry and pasty, and it should smell faintly nutty. This cooks out the raw flour taste and coats the fat evenly for a smooth gravy.
Simmer the filling
Gradually whisk in the chicken broth and milk, scraping the bottom of the pan to release any stuck bits. Bring the liquid to a gentle simmer. Stir in the shredded chicken, frozen peas, salt, pepper, and thyme. Cook for 3 minutes until the gravy thickens enough to coat the back of a spoon. Remove from heat.
Mix the biscuit dough
In a large bowl, whisk together the flour, baking powder, and salt. Cut in the cold butter using a pastry blender or your fingers until the mixture resembles coarse meal with some pea-sized butter lumps remaining. Stir in the buttermilk just until a shaggy, wet dough forms. Do not overmix.
Top and bake
Drop the biscuit dough by large spoonfuls over the warm chicken filling, leaving small gaps between the biscuits for steam to escape. Bake for 20 to 25 minutes, or until the biscuits are deeply golden brown and the filling is bubbling vigorously around the edges.
Rest before serving
Remove the skillet from the oven and let it rest for 10 minutes before serving. This resting period is crucial; it allows the boiling gravy to cool slightly and thicken, preventing it from running thin across the plate when portioned.
On the bench
Equipment
1 of these change the result. The rest are conveniences, with a workaround given. Nothing here is a brand recommendation — the spec is what matters.
The search links are paid affiliate links. If you buy through one, My Menu Mentor may earn a commission at no extra cost to you. No prices are shown because we will not quote a price we cannot keep current.
10-12-inch cast iron skillet or oven-safe braiser
A wide, ovenproof skillet provides the surface area the recipe needs so the filling reduces correctly and the biscuits bake without crowding.
- What matters
- 10-12 inch cast iron skillet or heavy oven-safe braiser with at least 2-inch sides and even heat retention.
- Search for
- “12 inch cast iron skillet” (paid link)
Pastry blender
OptionalCutting cold butter into the flour until pea-sized lumps remain is what produces flaky drop biscuits; doing it incorrectly yields dense, greasy biscuits.
- What matters
- Handheld pastry blender with multiple curved blades to cut chilled butter into flour quickly and evenly.
- If you skip it
- Use clean fingers to rub the cold butter into the flour until pea-sized lumps remain.
The list
What to buy
The same 17 ingredients, sorted the way a store is laid out rather than the order you cook them. Tick things off as you go.
0 of 17 gathered
Produce
Meat & Seafood
Dairy & Eggs
Pantry
Spices & Staples
Everything else
Shop these ingredients
One-tap grocery delivery for this list is planned, and this is where it will appear. Until it is connected, copy the list and paste it into whichever grocery app you already use.
Ticks stay in this browser tab only — nothing is saved or sent anywhere.
Cook's notes
What we would tell a friend
- To make ahead, prepare the filling and store it in the refrigerator for up to two days. Reheat the filling on the stove until simmering before mixing and adding the biscuit dough, then bake as directed.
- If buttermilk is unavailable, substitute 1 cup of whole milk mixed with 1 tablespoon of white vinegar or lemon juice. Let the mixture sit for 5 minutes before using.
- Avoid using chicken breast exclusively if possible; a mix of dark and white meat provides better flavor and prevents the meat from drying out in the oven.
- Ensure the butter and buttermilk for the biscuits are very cold. The cold fat melting in the hot oven creates the steam necessary for the biscuits to rise properly.
From the kitchen
Loading notes…
Keep reading
Next in the index
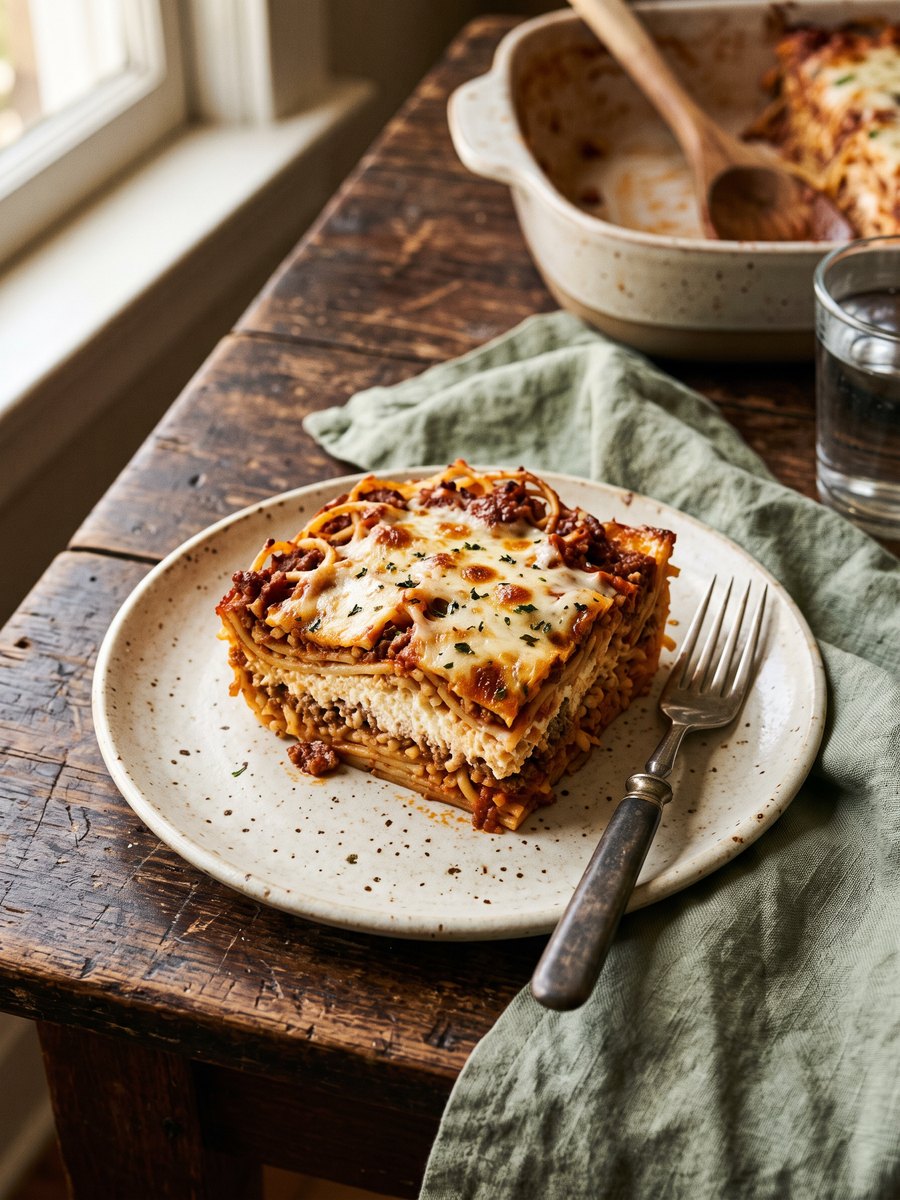
Baked Spaghetti with Ricotta and Mozzarella
A sturdy, sliceable pasta bake that relies on a ricotta binding layer to prevent the noodles from turning to mush.
1 hour 40 minutes · 8 servings
Casseroles
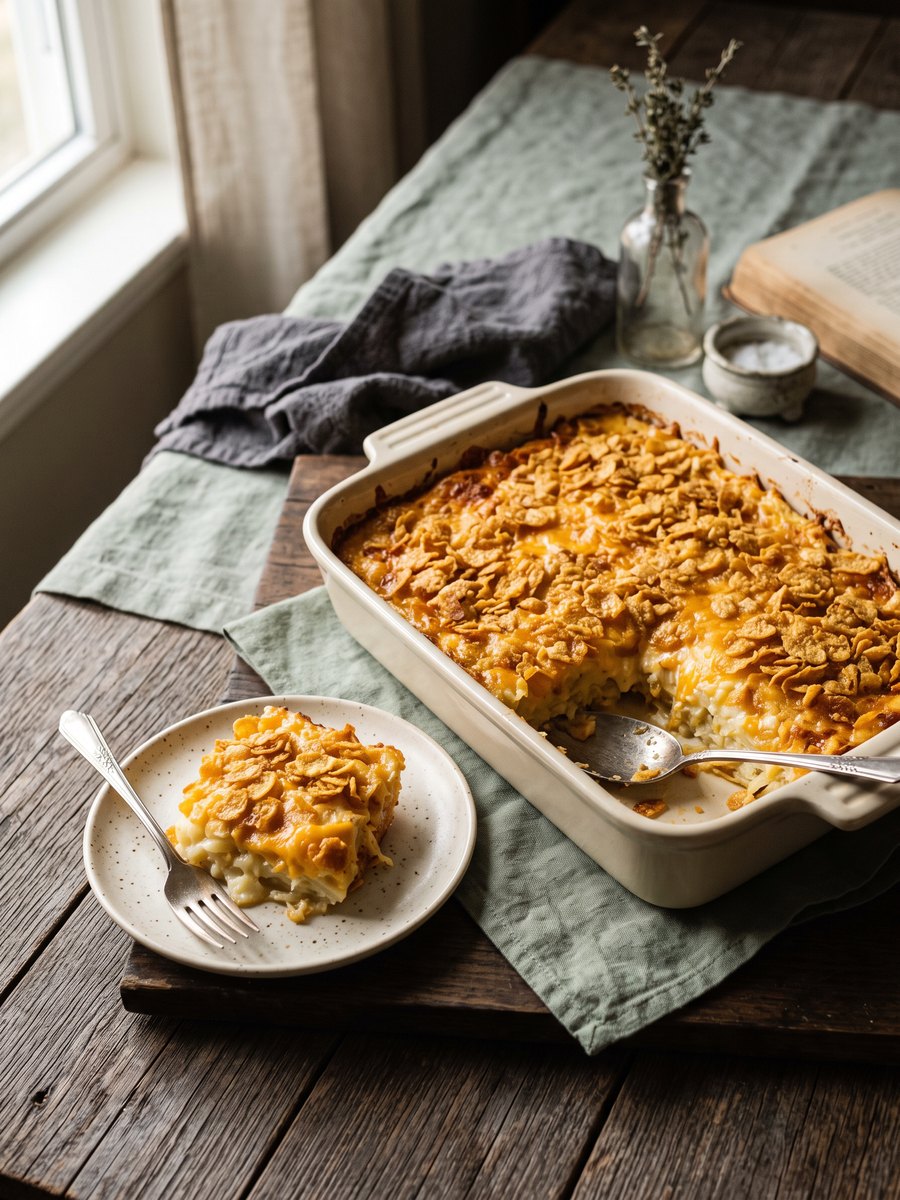
Sour Cream and Cheddar Hashbrown Casserole
A sturdy, sharp-cheddar potato bake that relies on sour cream and a hot oven rather than canned soup.
1 hour 15 minutes · one 9x13 pan
Casseroles